Connect Jit with your GitLab account (owner role)
GitLab Integration
Background
As part of Jit’s security approach, our tool operates entirely within the SCM environment, ensuring that no code is ever transmitted to our cloud servers. This design significantly minimizes risks and potential vulnerabilities, enhancing the security of your code. Our approach is both novel and unique within the ASPM landscape. However, it may introduce a few additional steps during the onboarding process. These additional steps are reflected in the following onboarding instructions and are essential to maintaining our high-security standards.
Requirements
To successfully integrate Jit with GL, several requirements need to be satisfied. It is advised to validate these requirements before the onboarding begins:
- Group Owner Permissions: To manage integration settings effectively, Jit will create a token with group owner permissions to perform all needed actions. If you prefer to restrict Jit's permissions to the maintainer level, take into account, it will entail further manual steps in the onboarding process. For more details, please see this page - Maintainer role onboarding
- Default Runner Allocation: Confirm that the runners are set up correctly for new projects to ensure proper CI/CD functionality:
- How to Check:
- Go to Admin Area (profile picture) > Overview > Runners.
- Under the Instance Runners section, confirm that runners are configured correctly and are active.
- Ensure that the runner is shared across all projects to provide seamless access to new projects.
- Set default runner settings in Admin Area > Settings > CI/CD for consistent runner availability in new projects.
- How to Check:
- Runner Configuration: If you are using self-hosted or custom runners, it requires additional validation steps to ensure compatibility with Jit. If this is the case, please contact us.
Integration Steps
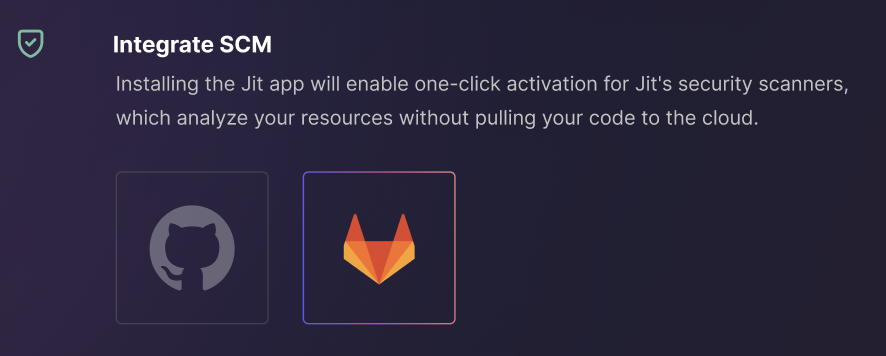
Open the GitLab Integration Wizard
- Select the GitLab Logo.

Wizard Step 1: Approve Permissions
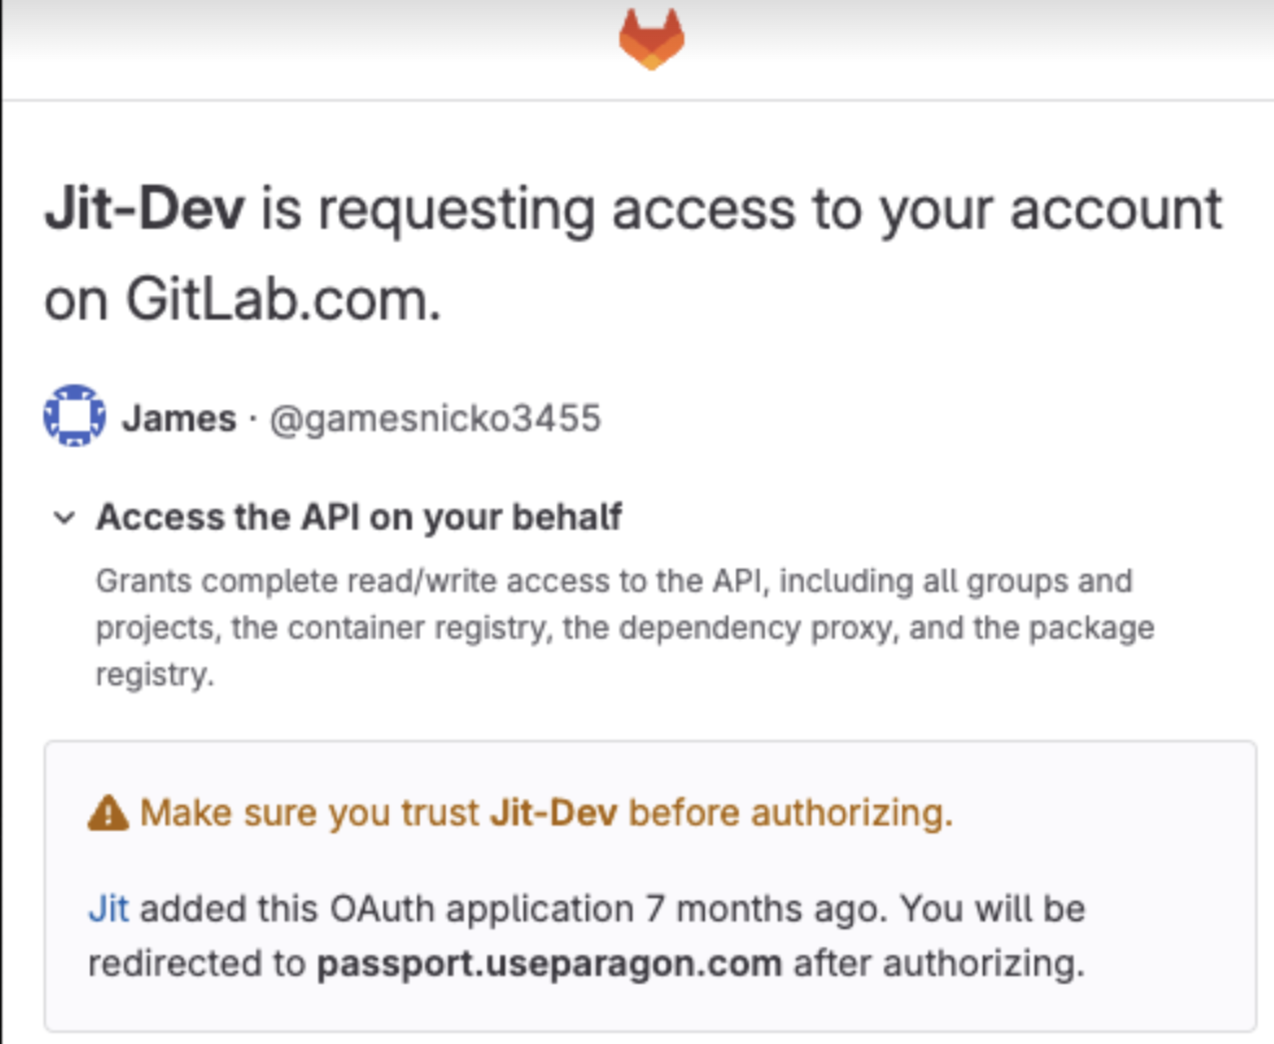
- Approve the permissions Jit requires for the integration:
| Permission | Description |
|---|---|
| Access the API on your behalf | Grants complete read/write access to the API, including all groups and projects, the container registry, the dependency proxy, and the package registry. |
- Click Authorize Jit

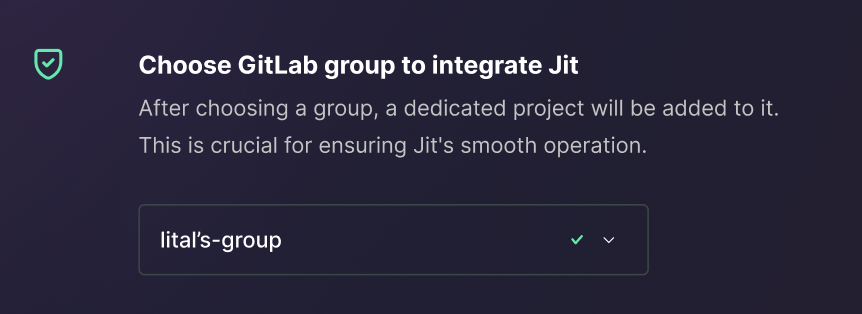
Wizard Step 2: Choose GitLab Group
- Select your dedicated group from the dropdown.
- Click Next.

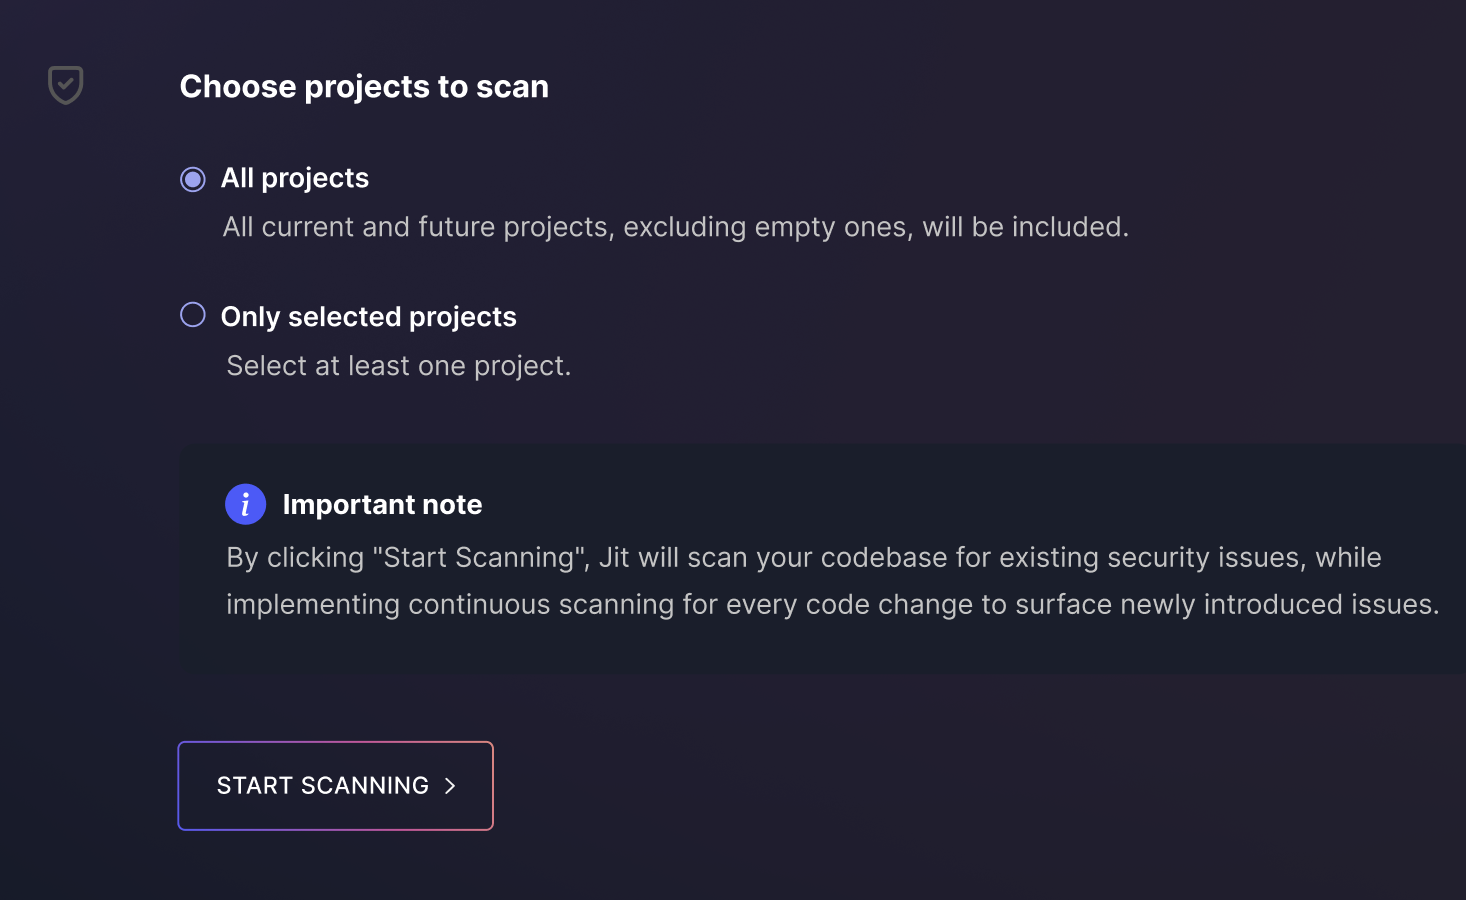
Wizard Step 3: Choose projects to scan
-
- Recommended: Select All projects to automatically protect new repositories with Jit. When needed, repositories can later be excluded in Manage Resources.
- If you prefer, you can install Jit only on selected projects by choosing the second option.
- Click Complete.

Additional information and options
- If All projects were not selected, Jit does not have permission to all projects and does not receive notification about the new project. Click Edit access permission and allow the Jit app permission for the new project.
- Jit creates a new project in the group that allows Jit to scan the code in the GitLab environment. This architecture enables security scanning within your GitLab organization and lets you modify your security configuration as code.
Success!
You are good to go.
Start activating security controls in your plan.
If you have third-party products/services you would like to integrate with Jit (such as Slack or Jira) proceed to Integrating With Third-Party Products and Services.
For instructions on configuring dependency scanning within monorepos, see Monorepo Support.
Updated 26 days ago
