Connect Jit with your GitLab account (maintainer role)
Integration Steps
Login to Jit
As a first step, you will need to log in to Jit at platform.jit.io to create a tenant (This is important as a first step, as we will need to use the created tenant ID in later steps)

Create Webhooks
Jit uses webhooks to trigger scans when different events occur, such as a new MR or merge.
Users who prefer not to provide Jit with group owner permissions will need to register Webhooks manually. This can be done by following these steps:
- Navigate to Group Settings > Webhooks
- Click add a new webhook
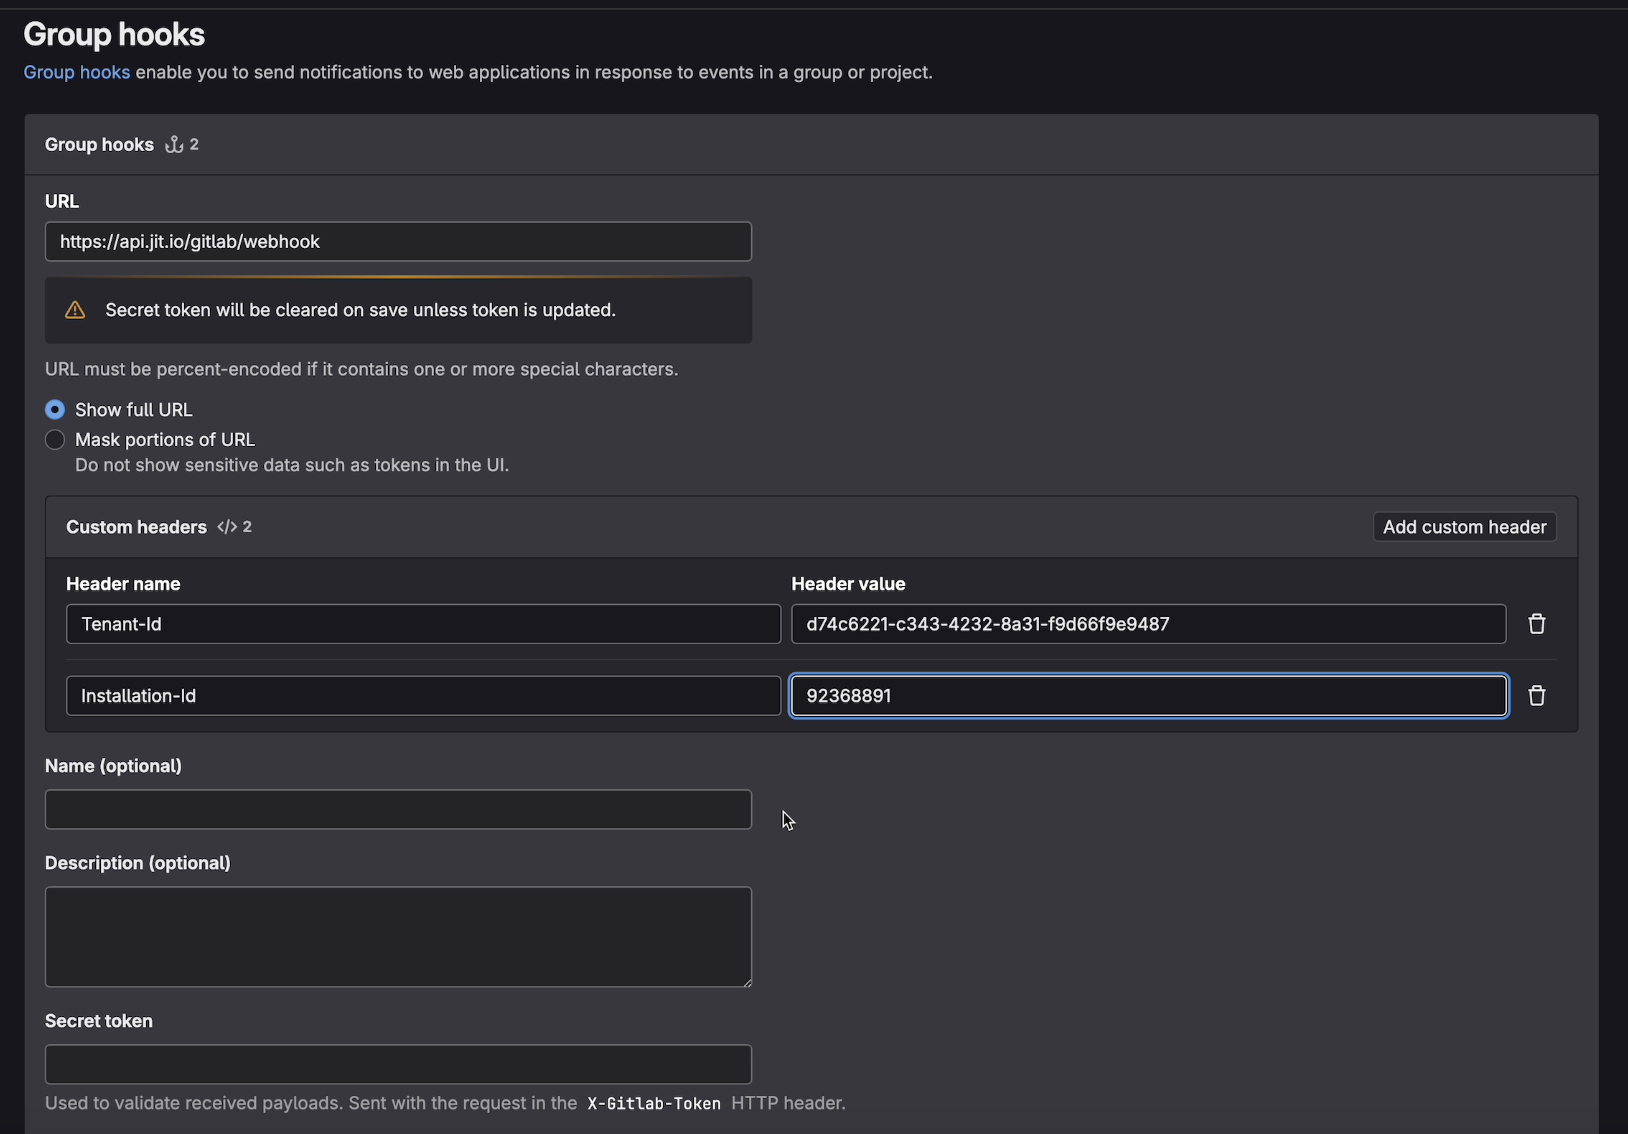
- Fill out the form using the following data:
| Field | Value |
|---|---|
| URL | https://api.jit.io/gitlab/webhook |
| Header Name | Tenant-Id |
| Header Value | will be provided by Jit |
| Header Name | Installation-Id |
| Header Value | the group ID you plan to integrate with |
| Secret Token | choose a password |
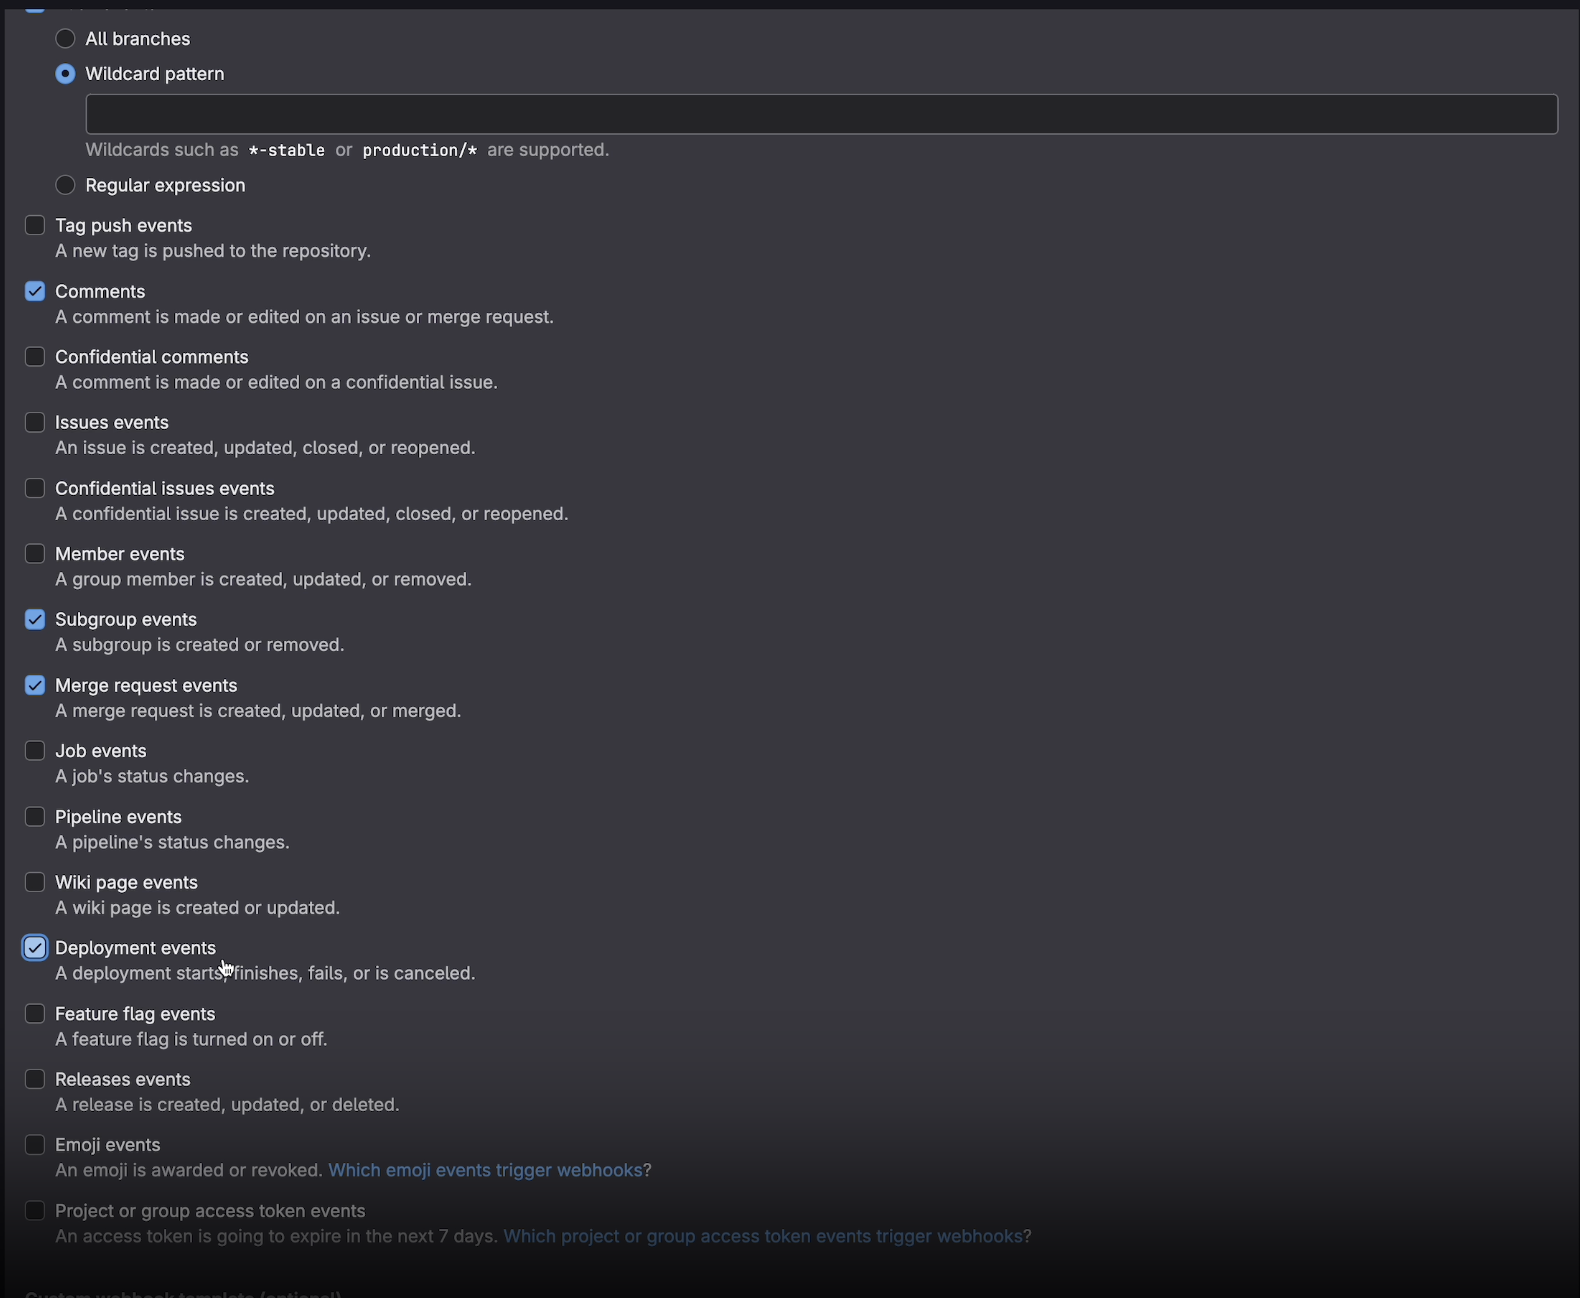
| Trigger | Choose: - Push events (Wildcard pattern) - Comments - Subgroup events - Merge request events - Deployment events |
- Press 'add webhook'
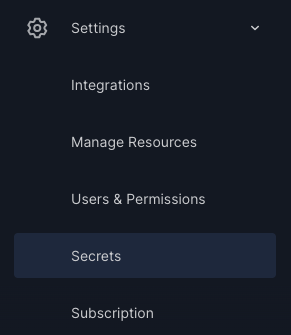
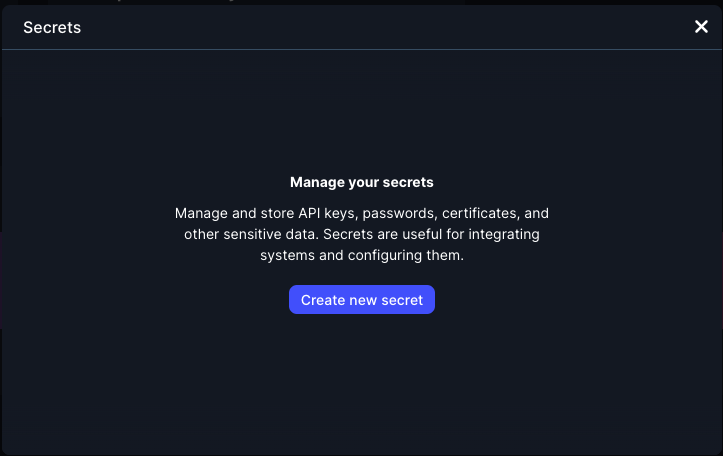
- Navigate to the Jit Platform, and go to Settings->Secrets. Add a new secret with the name 'webhook_secret_token' and the same password you used in the creation of the webhook.
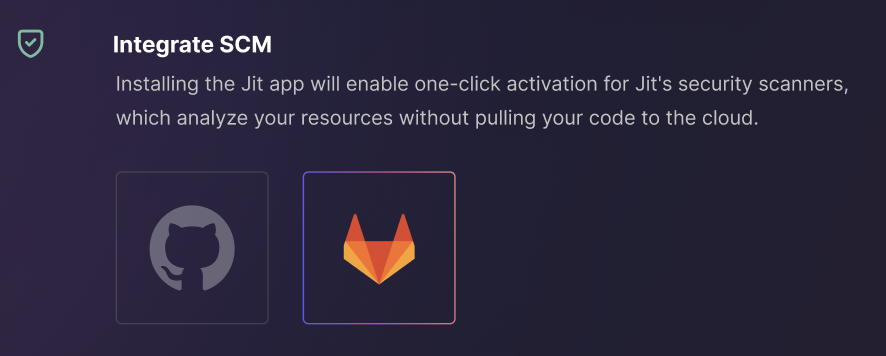
Open the GitLab Integration Wizard
- Select the GitLab Logo.
Wizard Step 1: Approve Permissions
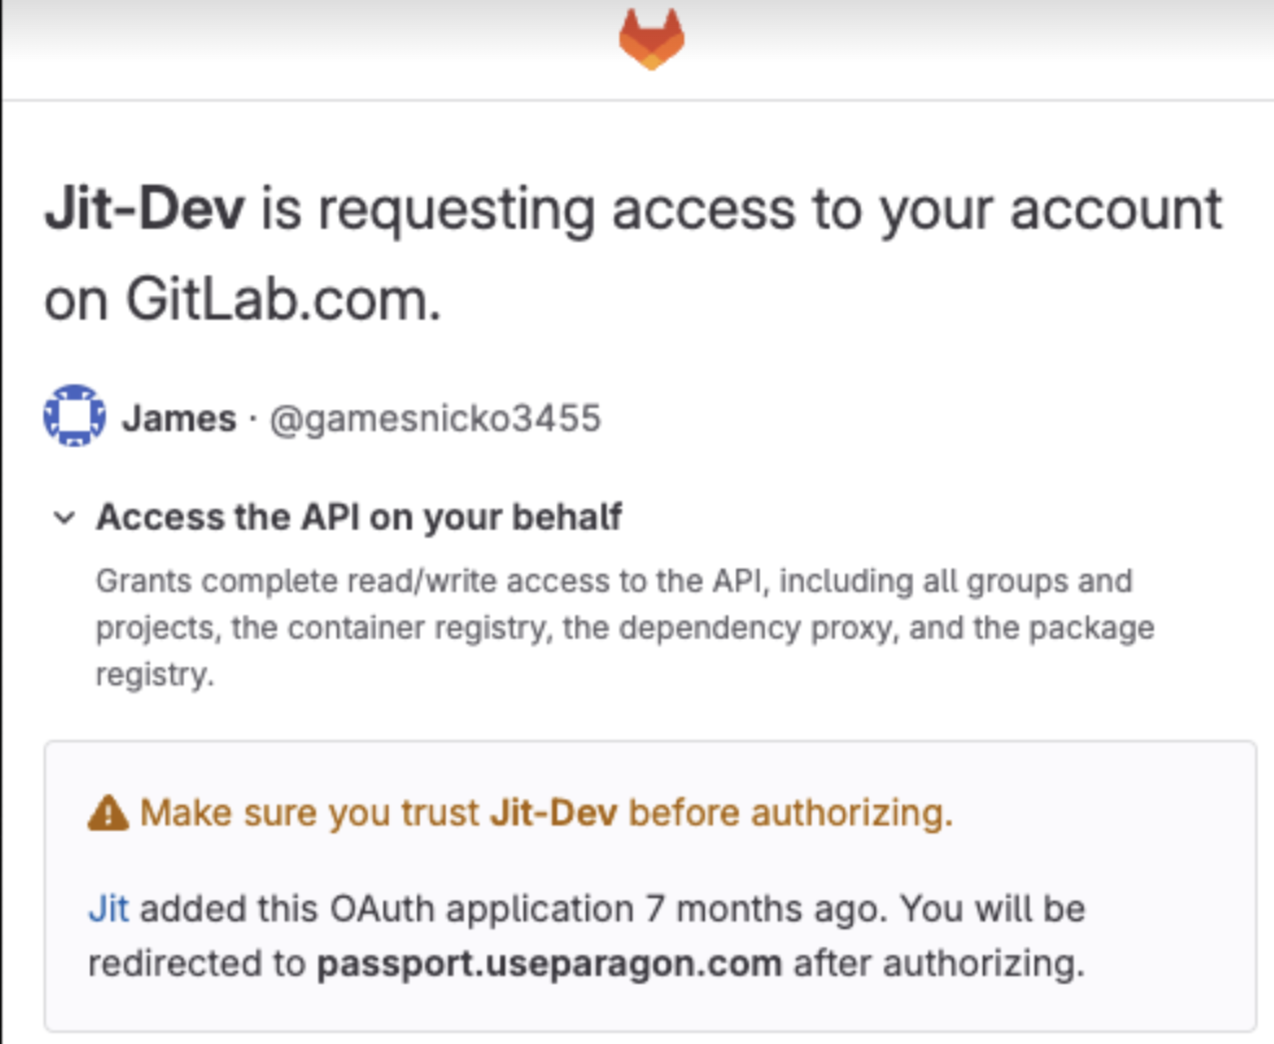
- Login to Gitlab using the user with Maintainer role.
- Approve the permissions Jit requires for the integration.
- Click Next
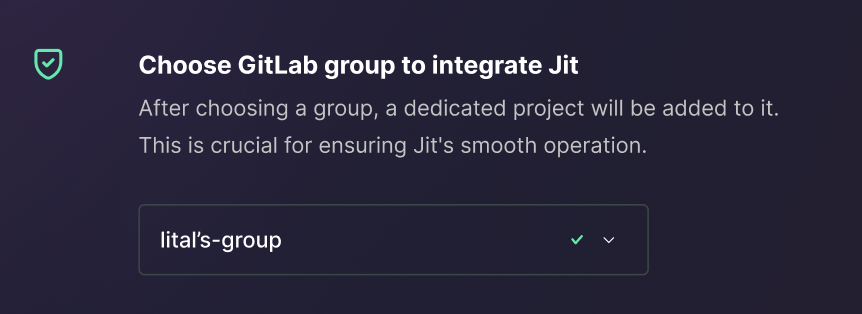
Wizard Step 2: Choose GitLab Group
- Select your dedicated group from the dropdown.
- Click Next.
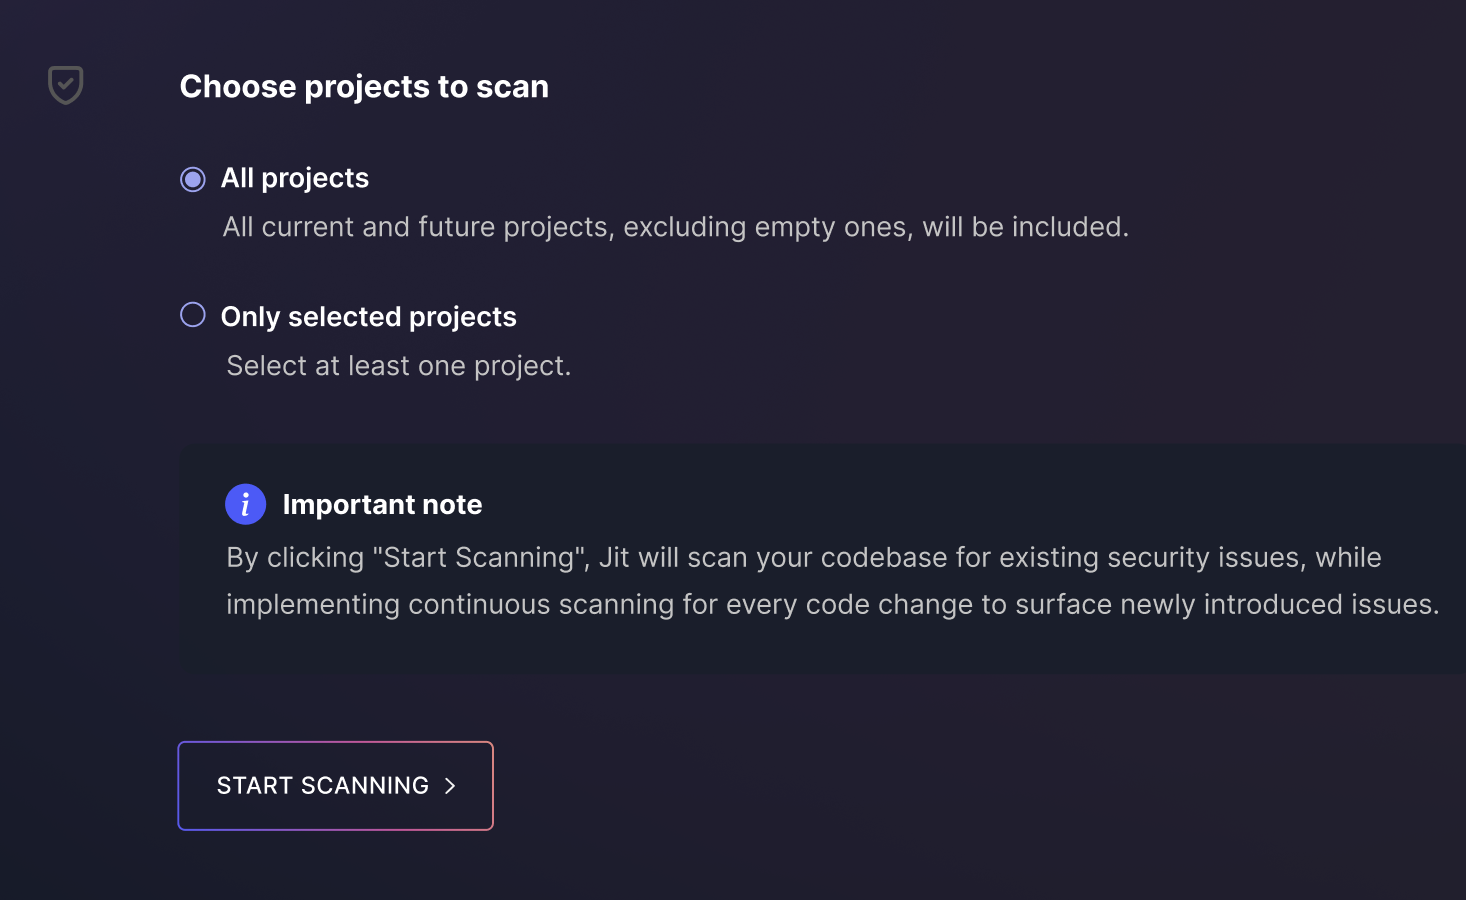
Wizard Step 3: Choose projects to scan
-
- Recommended: Select All projects to automatically protect new repositories with Jit. When needed, repositories can later be excluded in Manage Resources.
- If you prefer, you can install Jit only on selected projects by choosing the second option.
- Click Complete.
Additional information and options
- If All projects were not selected, Jit does not have permission to all projects and does not receive notification about the new project. Click Edit access permission and allow the Jit app permission for the new project.
- Jit creates a new project in the group that allows Jit to scan the code in the GitLab environment. This architecture enables security scanning within your GitLab organization and lets you modify your security configuration as code.
Success!
You are good to go.
Start activating security controls in your plan.
If you have third-party products/services you would like to integrate with Jit (such as Slack or Jira) proceed to Integrating With Third-Party Products and Services.
For instructions on configuring dependency scanning within monorepos, see Monorepo Support.
Updated 27 days ago
