Drata Integration
Overview
Note
The Drata integration is currently enabled by the Jit team.
Self-service configuration will be available in a future release.
Integrating with Drata enables you to:
- Automate evidence submission for key technical SOC2 controls to the Drata platform.
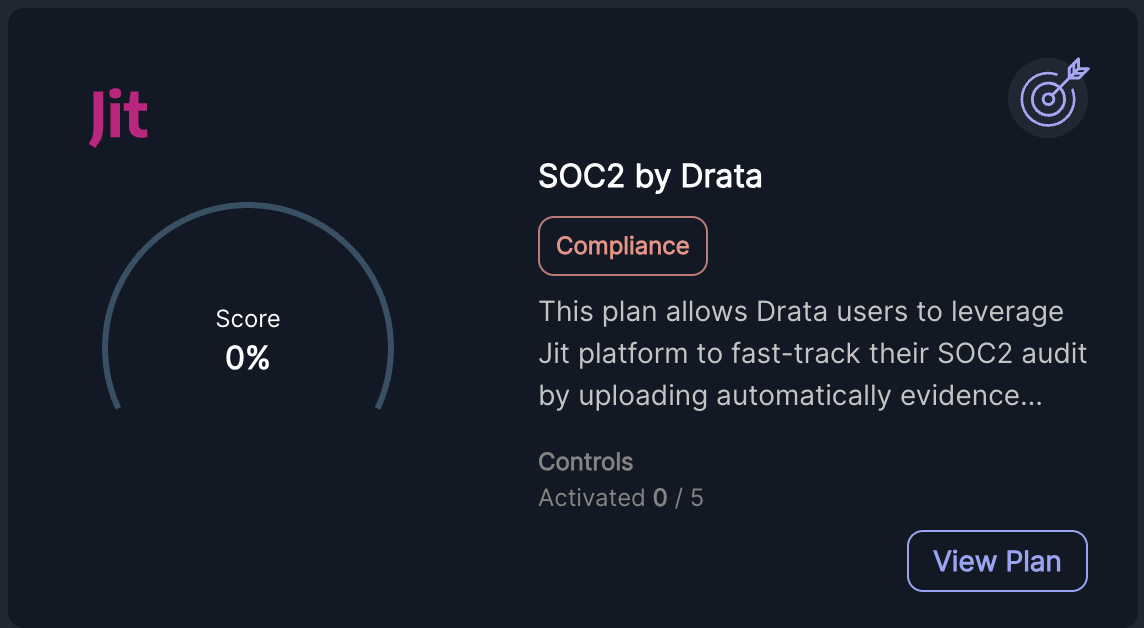
Learn more in SOC2 by Drata.
Integration steps
- Step 1 (Classic Drata UI): Create an API token in your Drata account.
- Step 1 (New Drata UI): Create an API token in your Drata account.
- Step 2: Assign and create secrets and tokens in Jit.
- Step 3: Configure the integration in Jit.
Step 1 (Classic Drata UI): Create an API Token in Your Drata Account
-
Log in to https://app.drata.com > Click on your profile name >
Settings. -
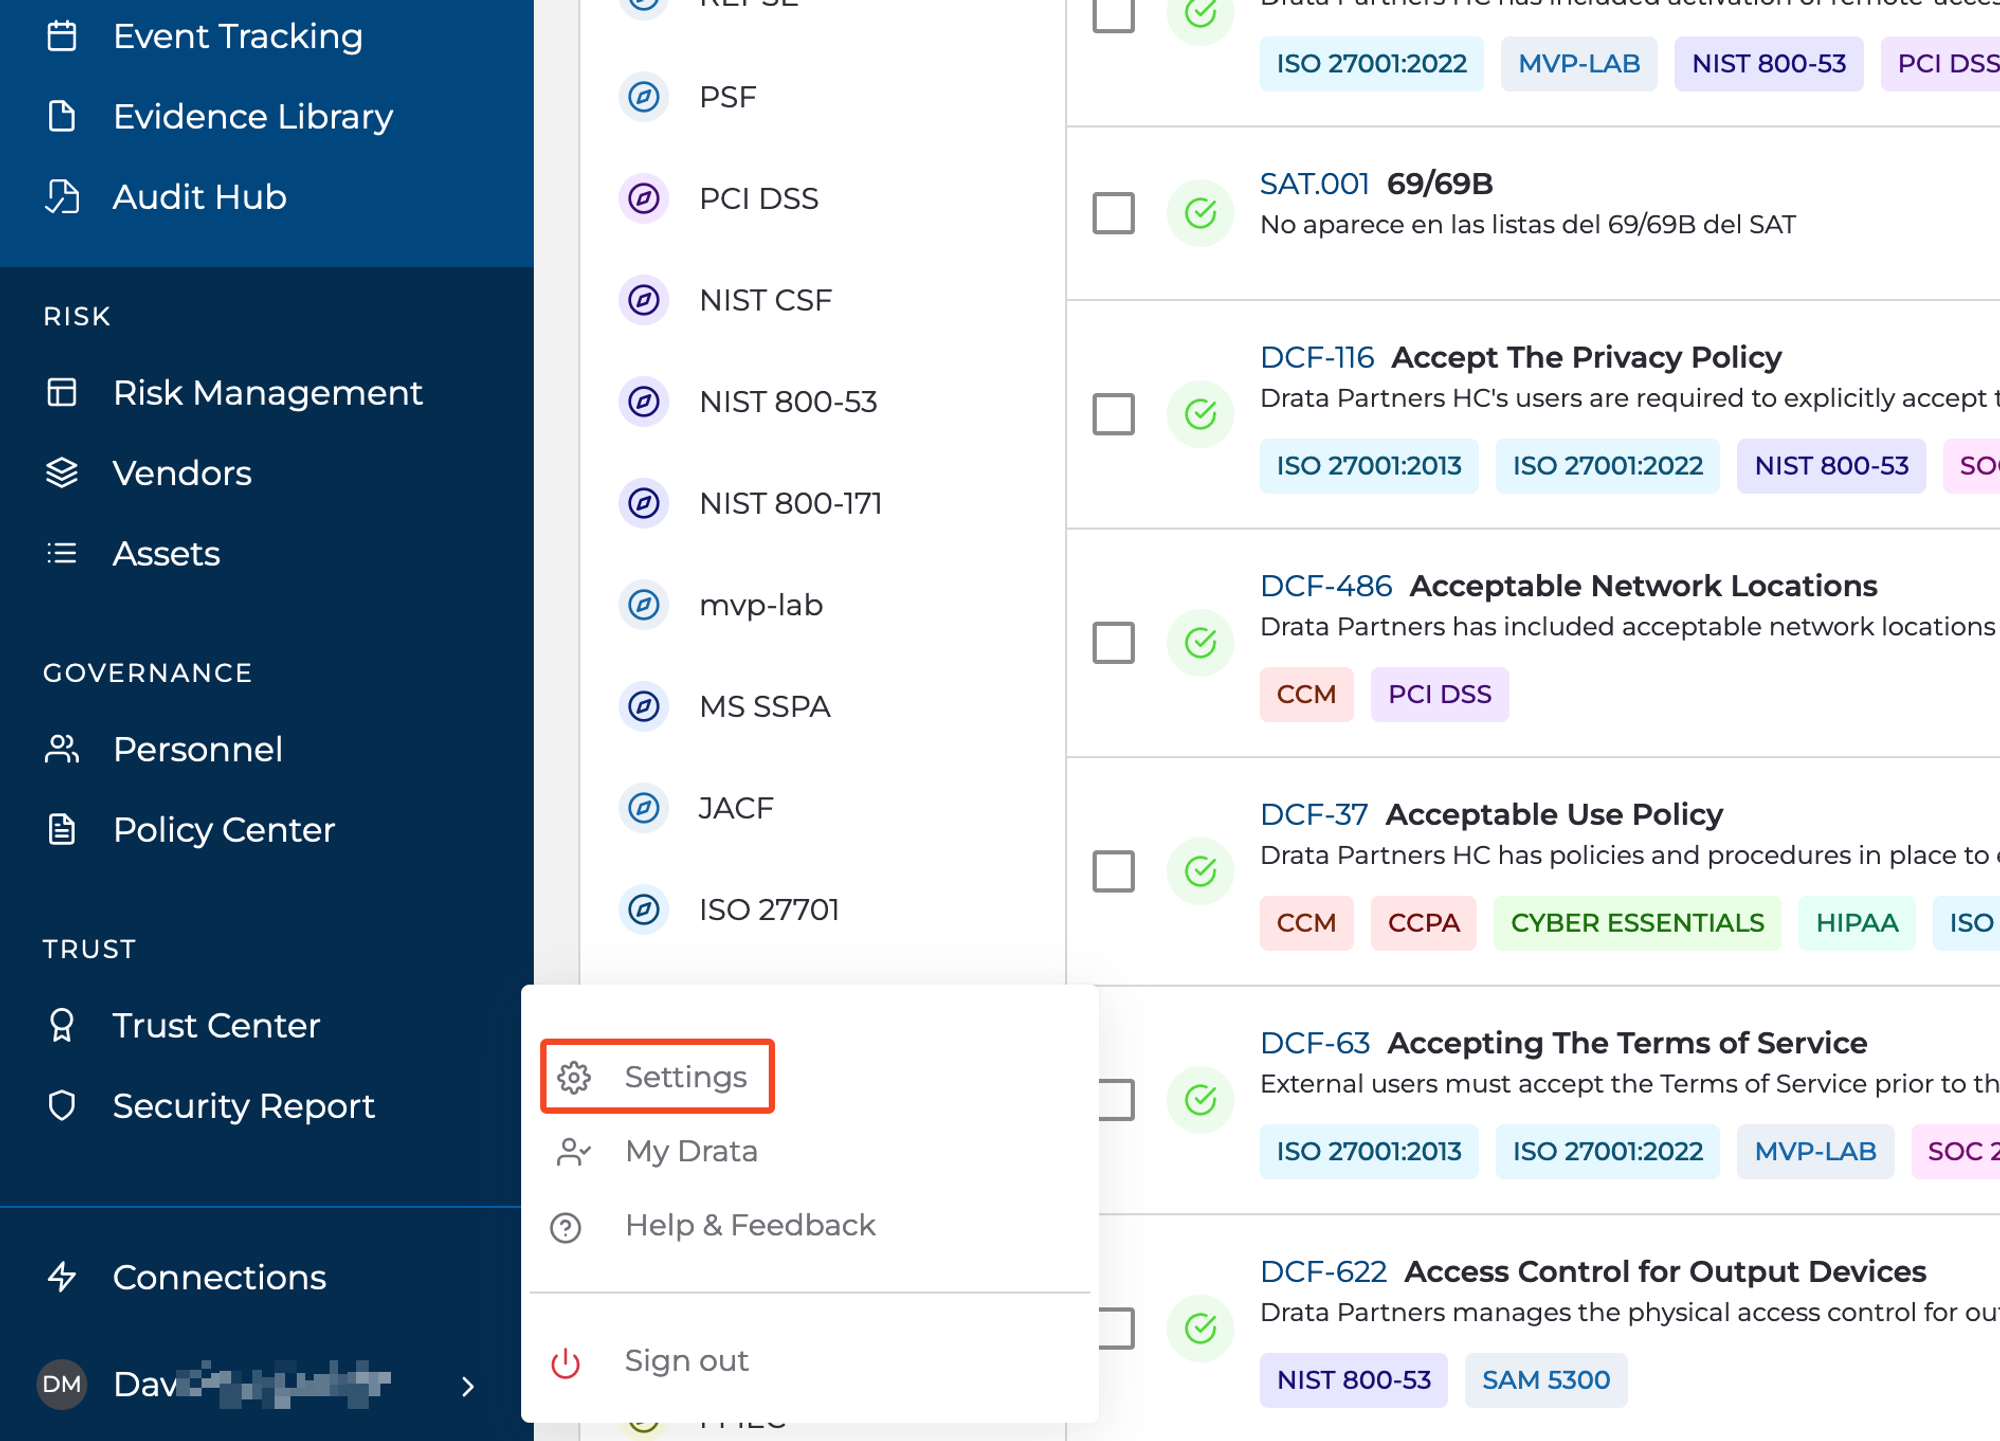
Click
API Keys. -
Click
Create API Key. -

Fill out the Create API Key Form using the guidance below and be sure to save it:
-
- Expiration Date: We recommend a long expiration date so that your integration does not unexpectedly stop working.
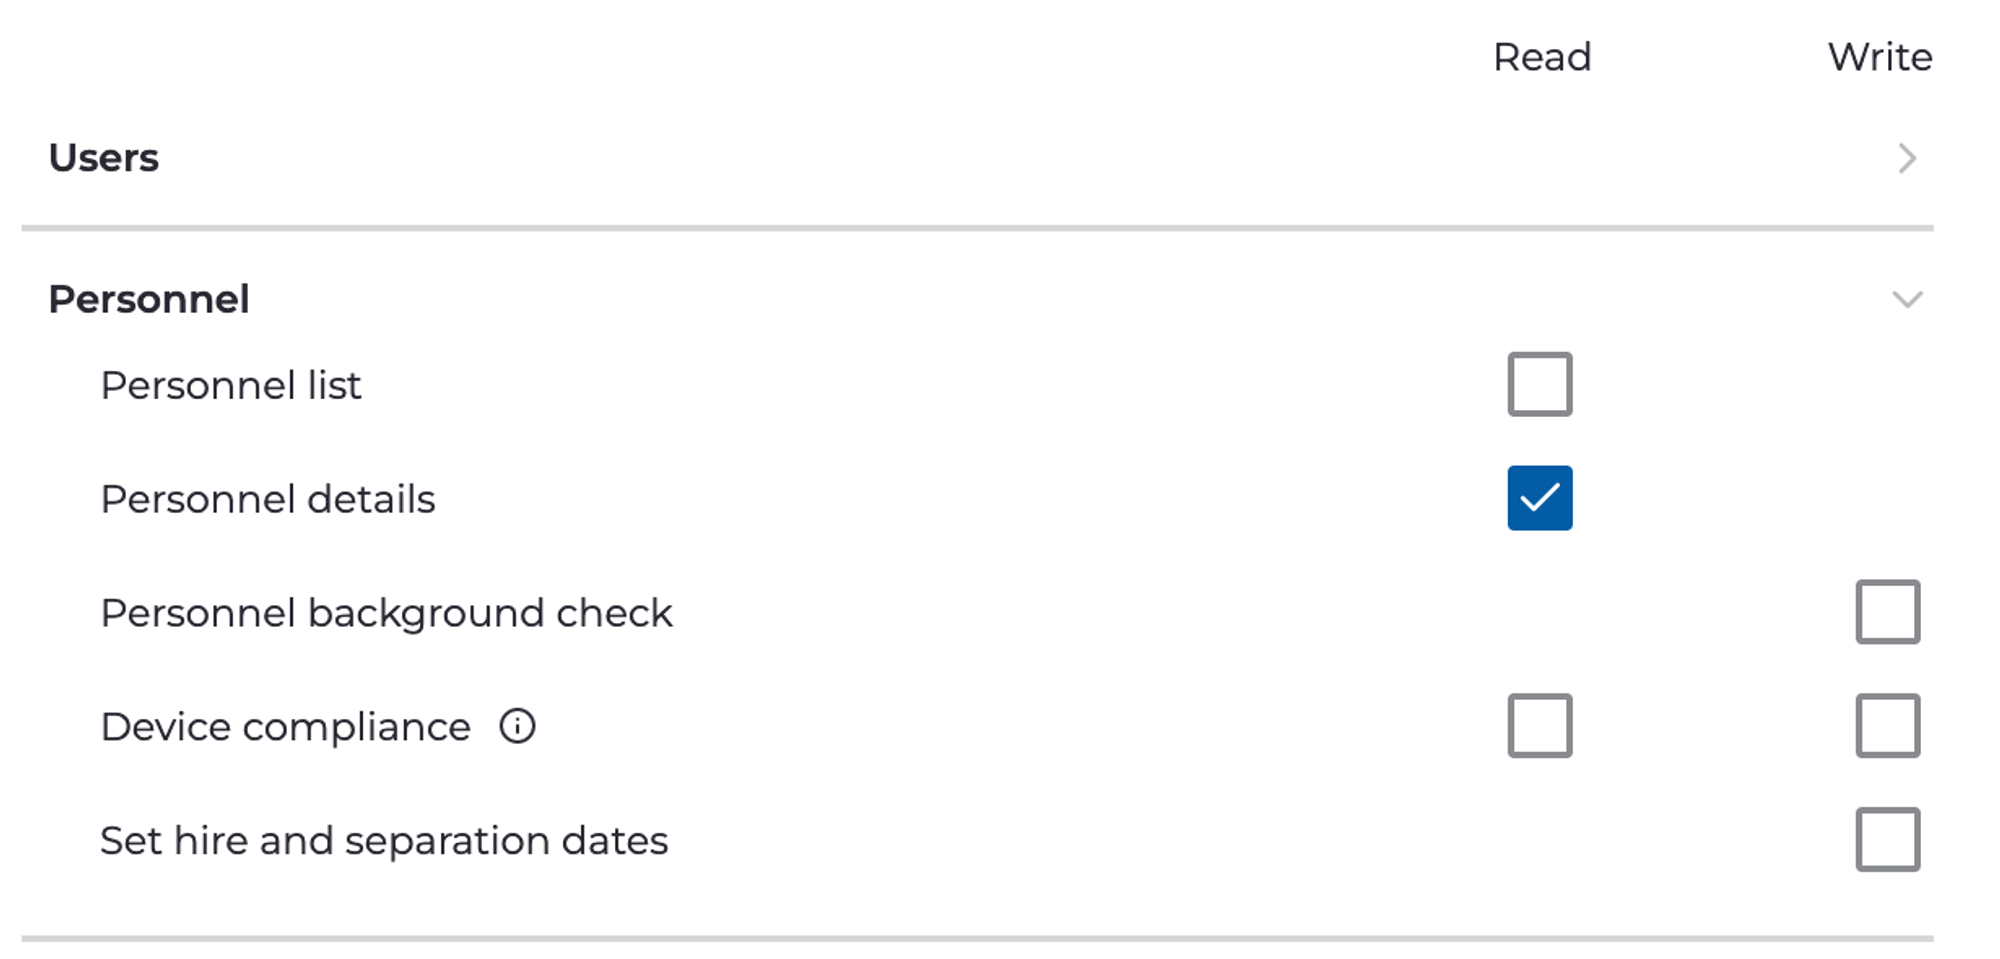
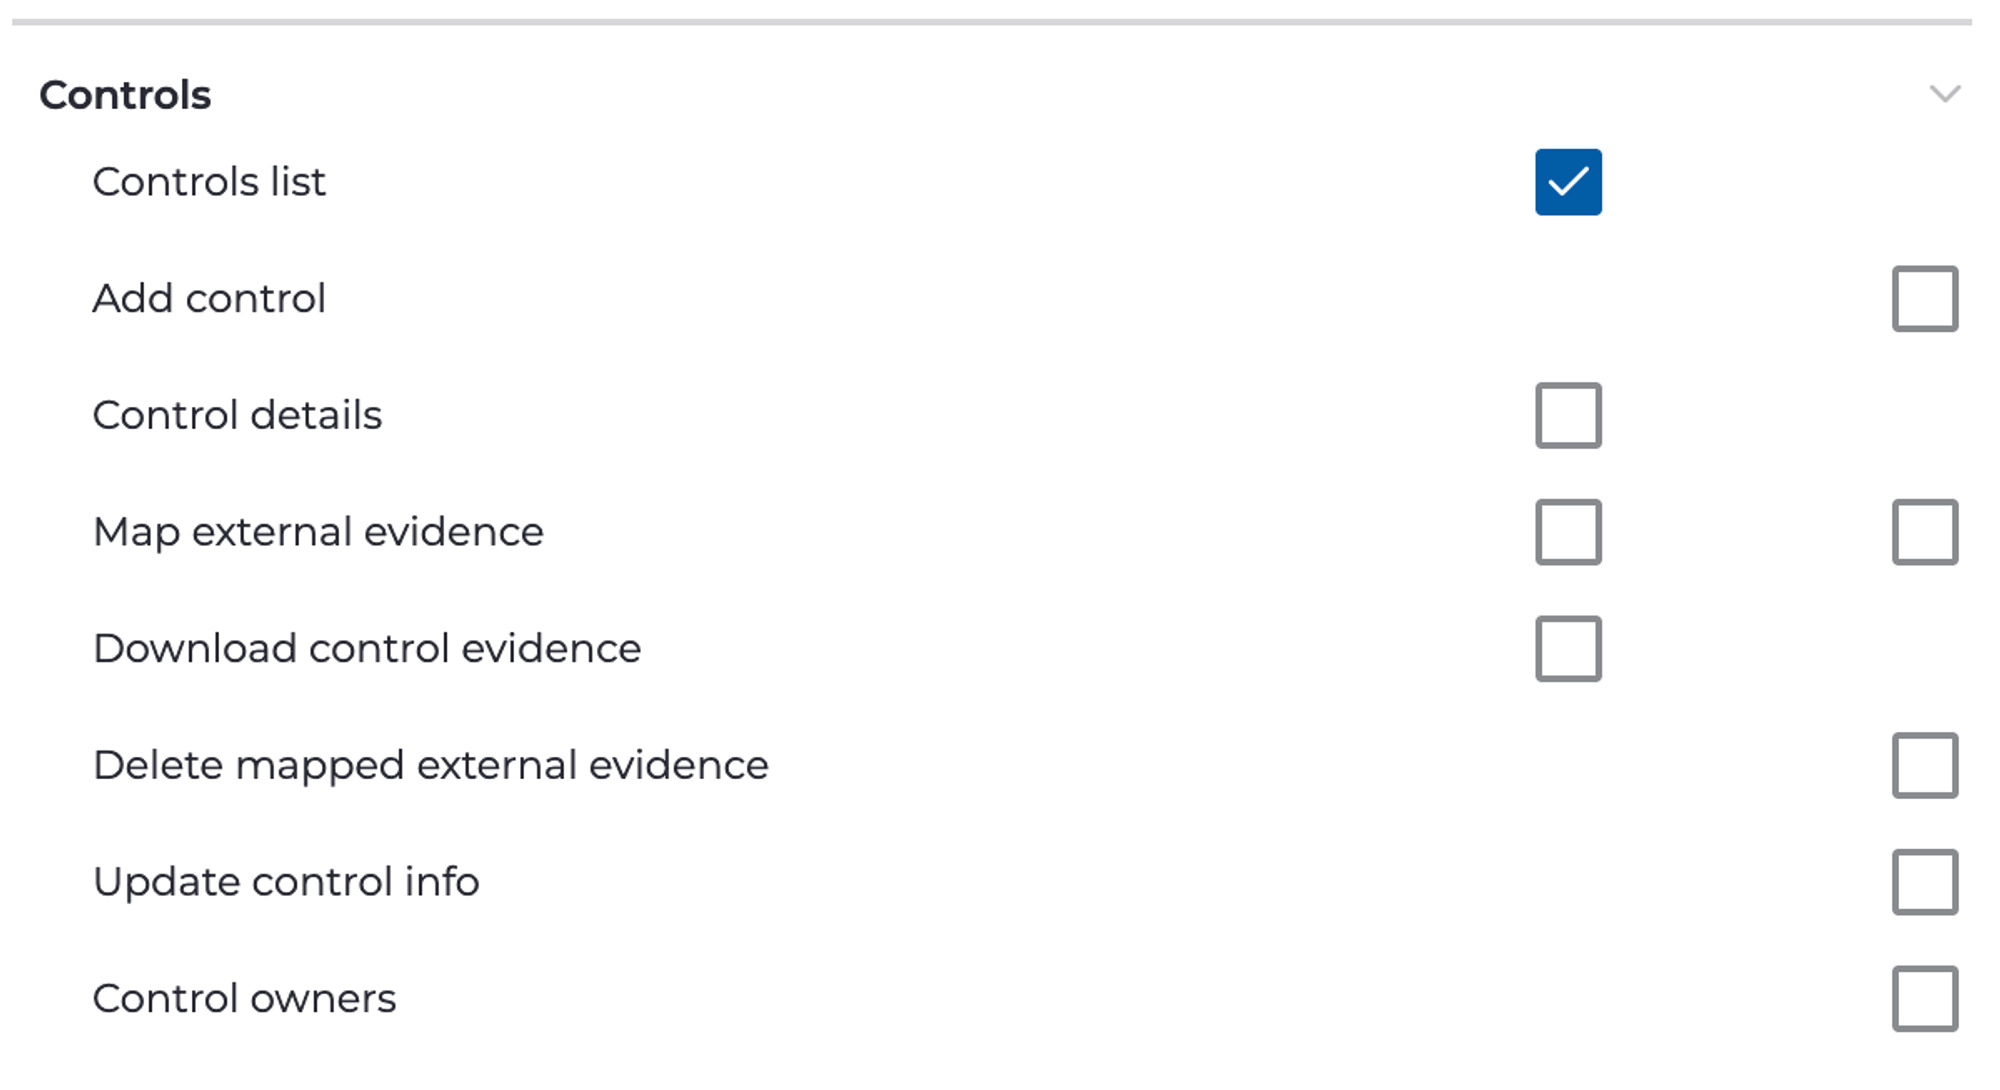
- The following scopes must be enabled:
- Personnel: Personnel details - R
- Controls: Control List - R
- Workspaces: List workspaces - R
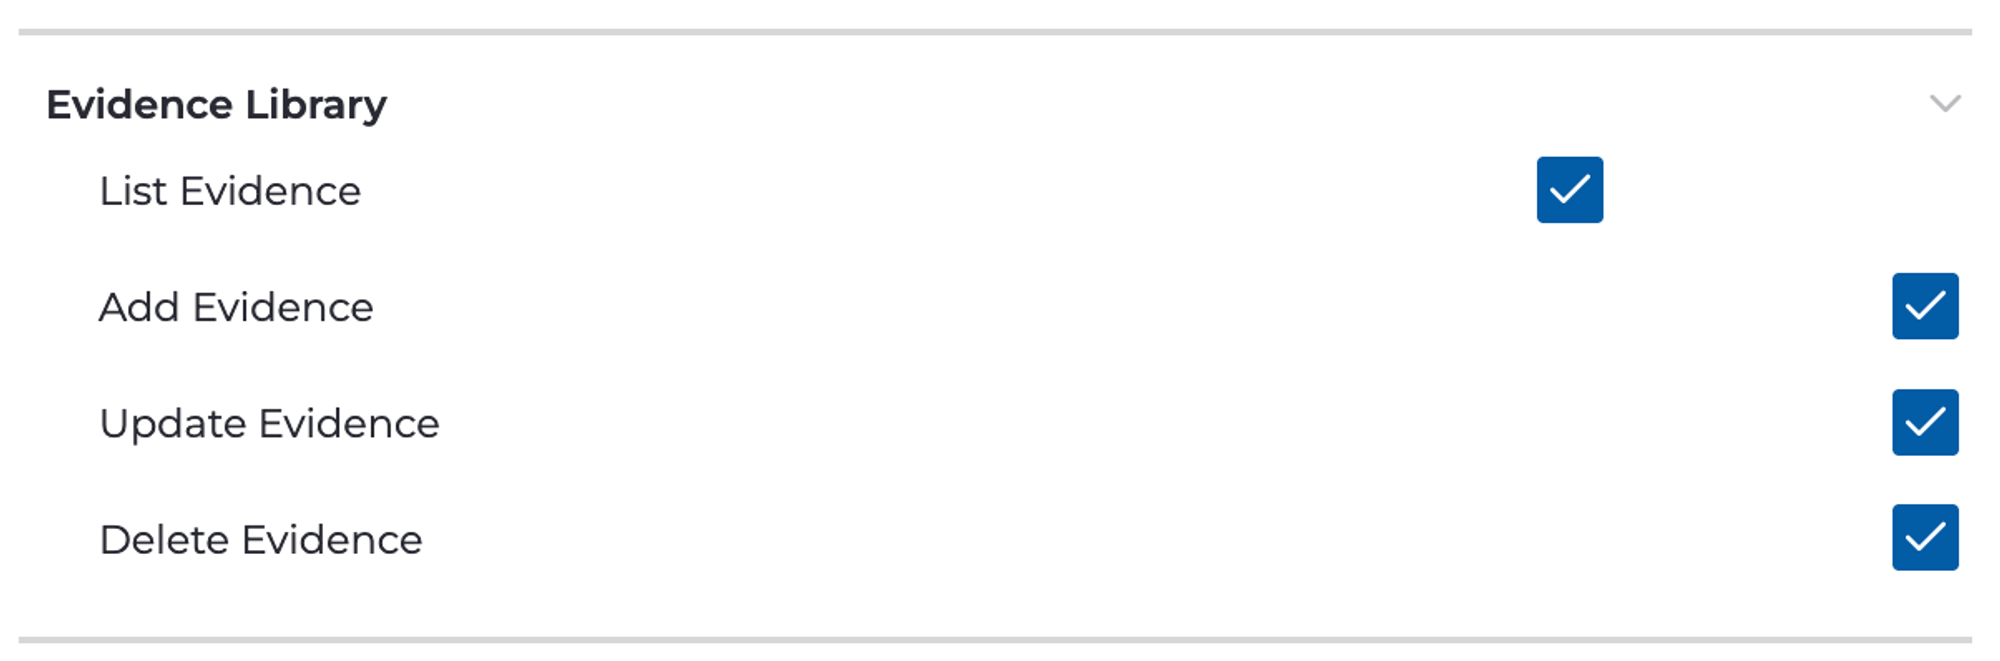
- Evidence Library:List Evidence - R,Add Evidence- W, Update Evidence - W, Delete Evidence - W
-

Copy the API Key and save it somewhere secure!
Step 1 (New Drata UI): Create an API Token in Your Drata Account
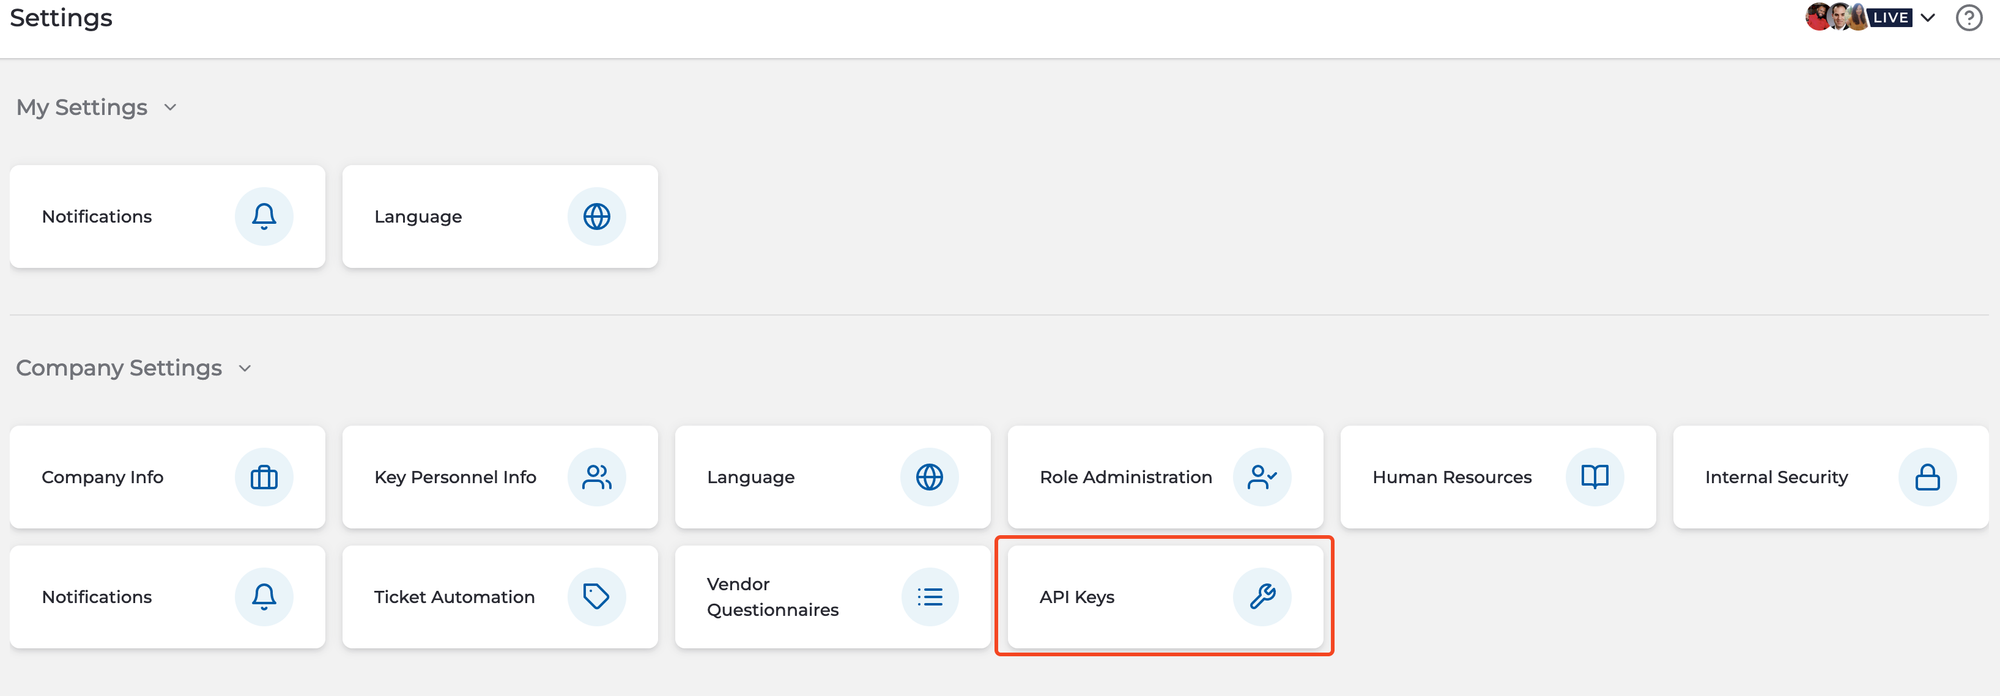
- Log in to https://app.drata.com > Click on
Settings>API Keys
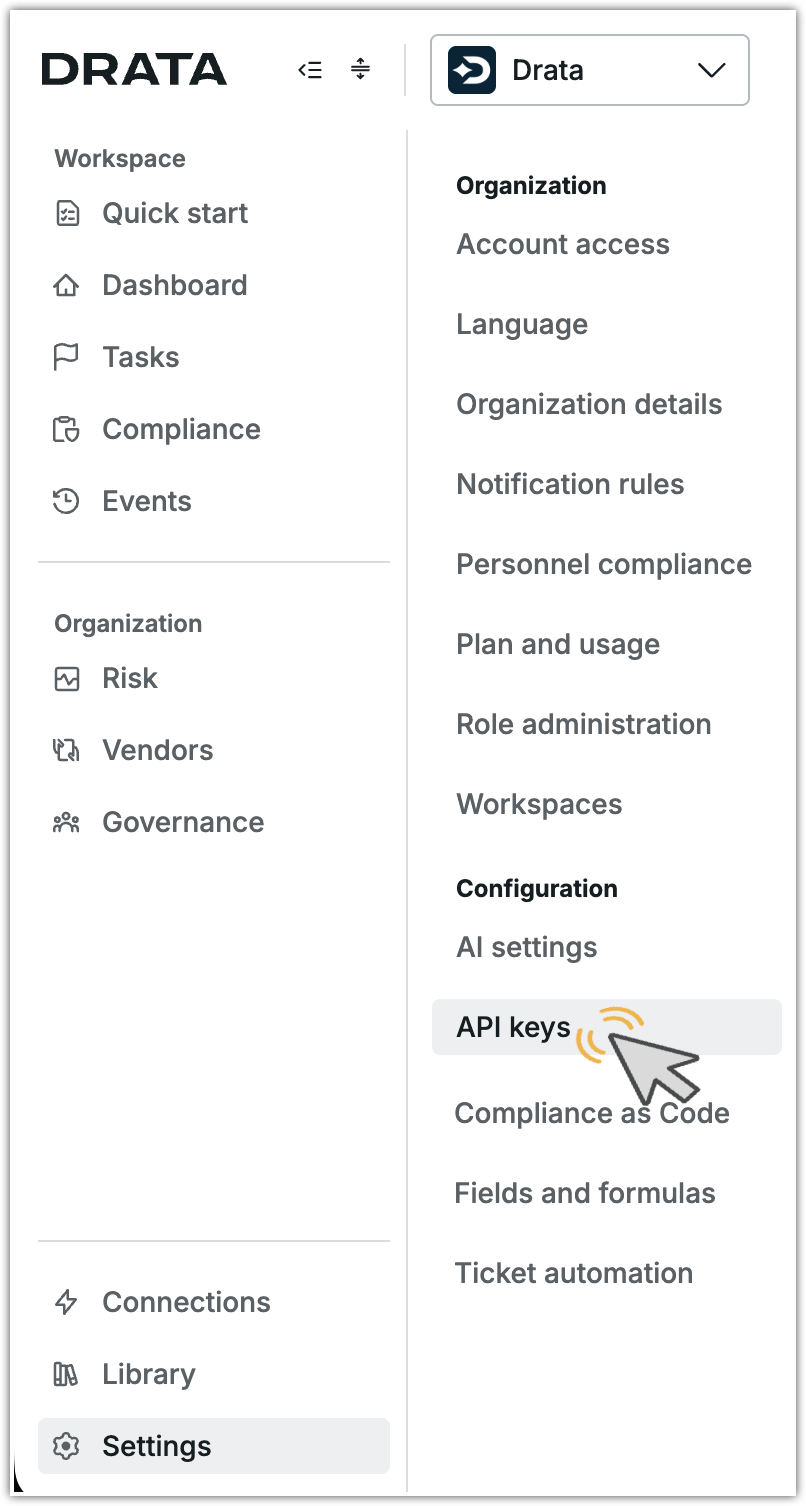
- Click
Create API Key
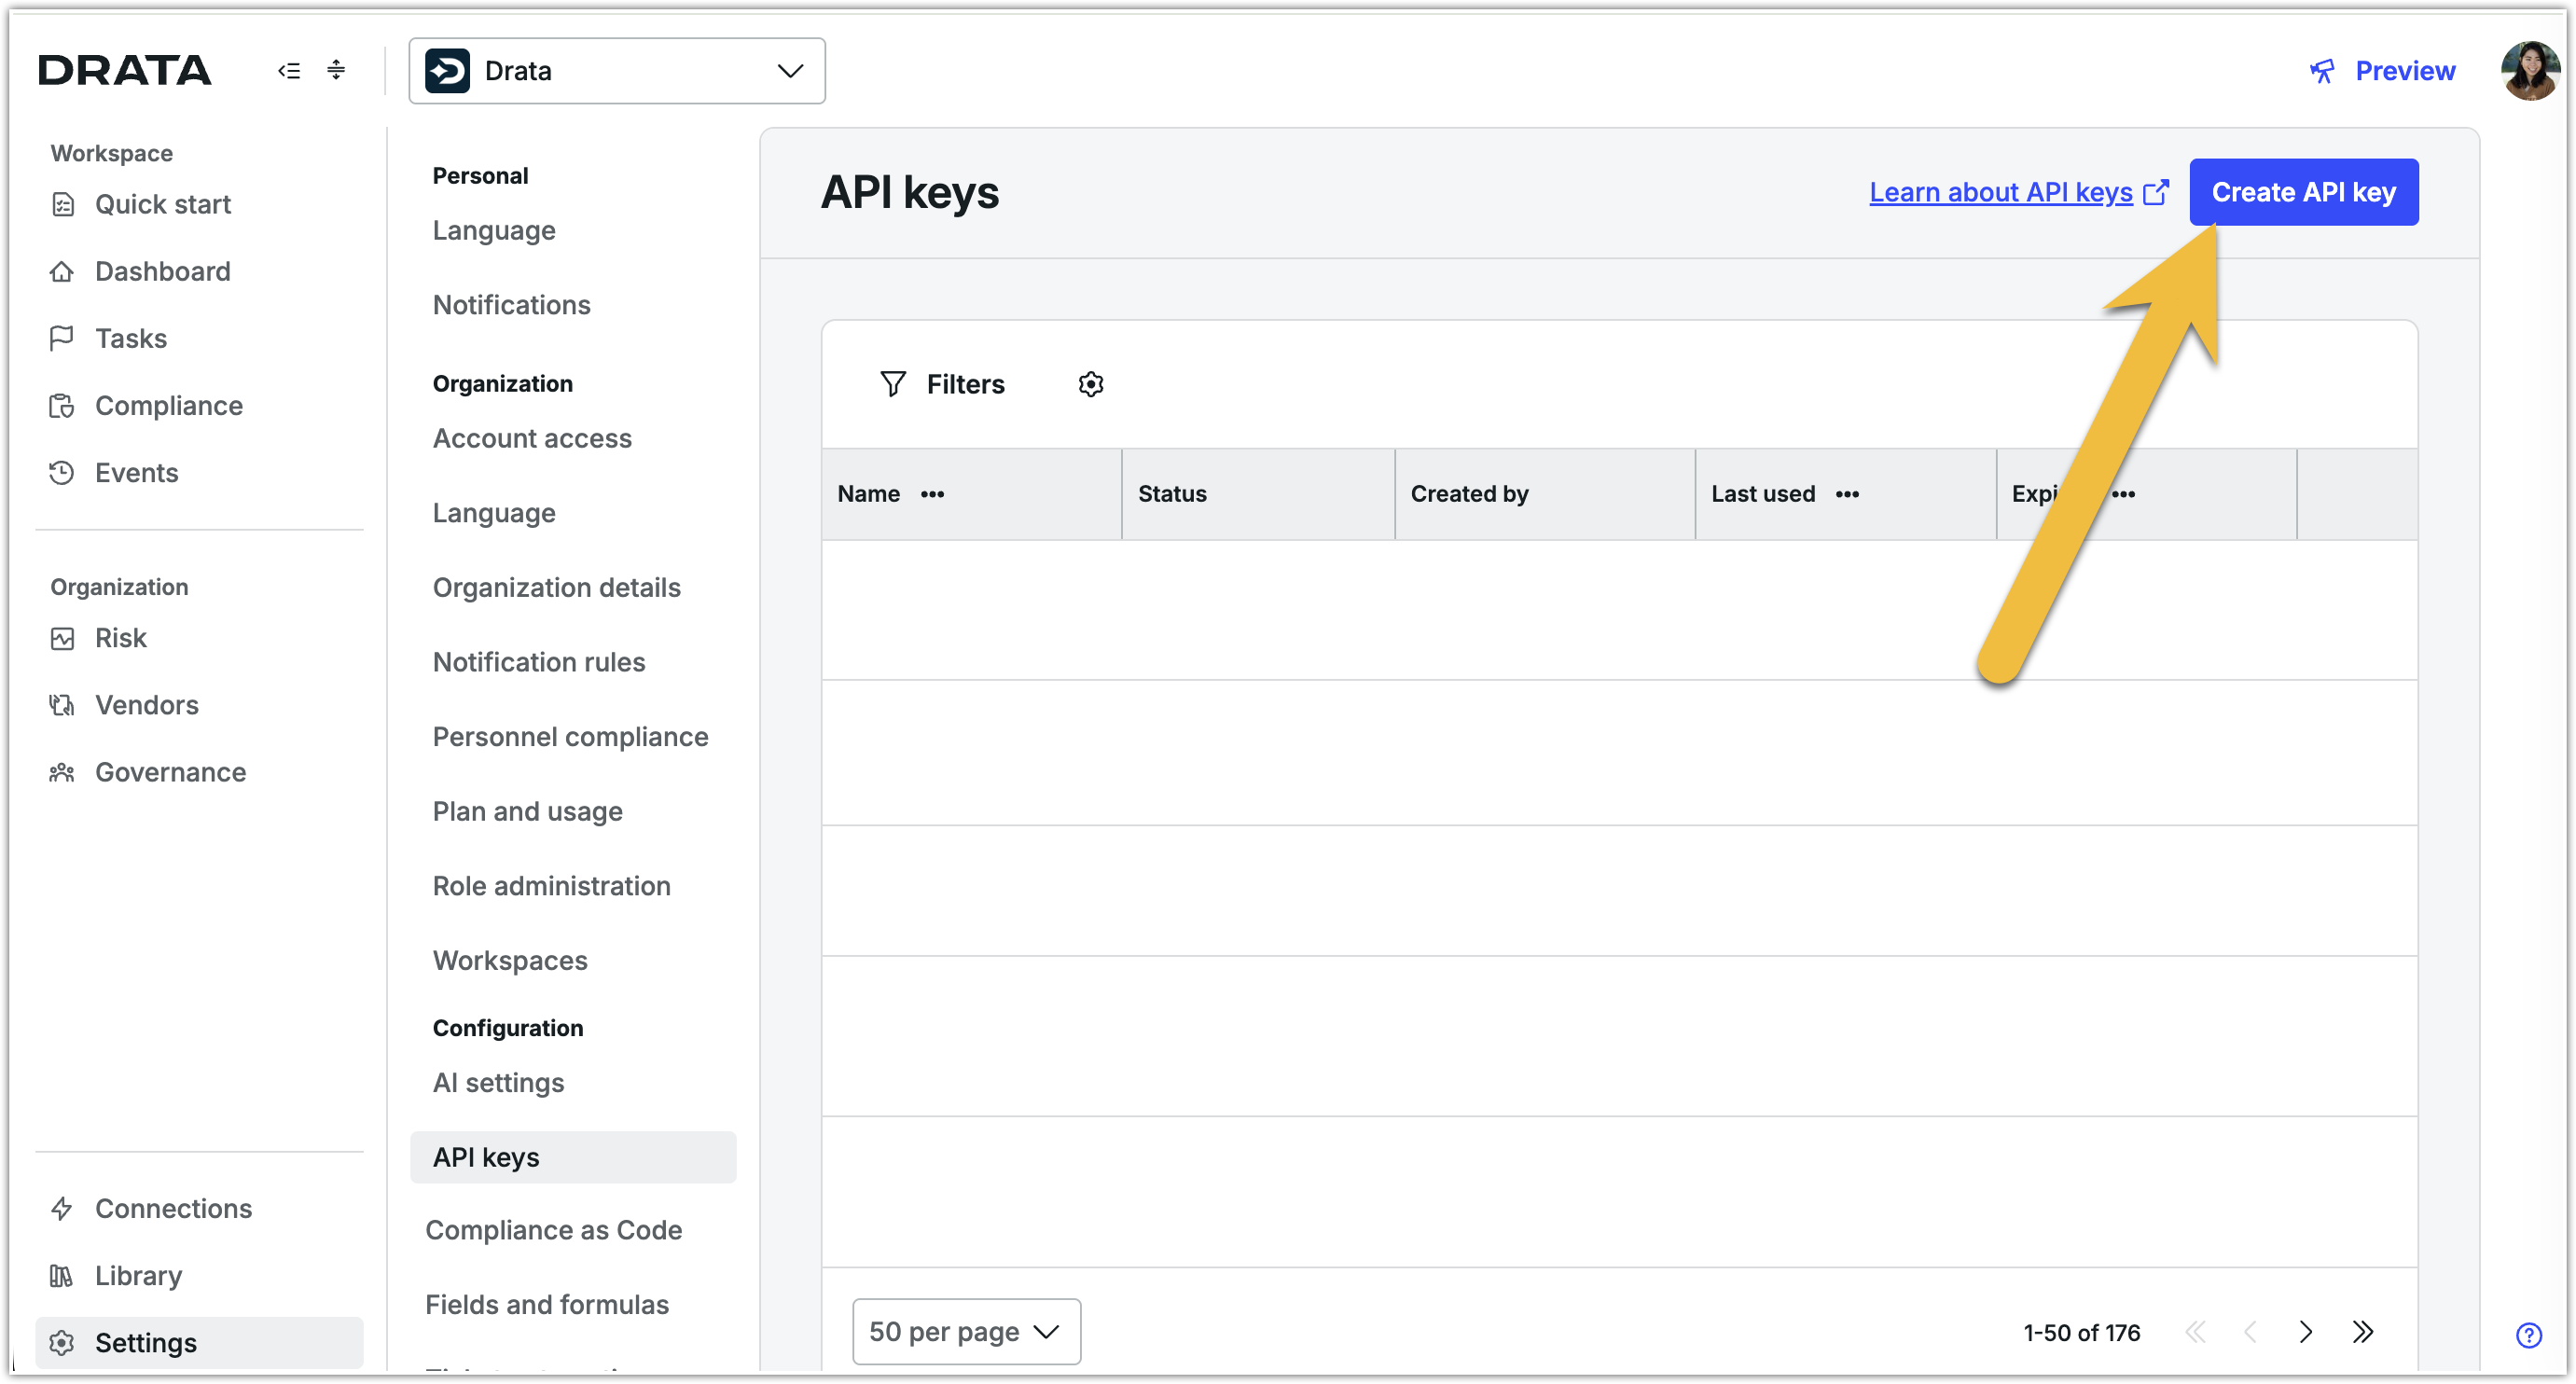
- Fill out the Create API Key Form using the guidance below, and be sure to save it:
-
- Expiration Date: We recommend a long expiration date so that your integration does not unexpectedly stop working.
- The following scopes must be enabled:
- Personnel: Get Personnel - Read
- Controls: Control List - Read
- Workspaces: List workspaces - Read
- Evidence Library:
- List Evidence - Read
- Create Evidence- Write
- Update Evidence - Write
- Delete Evidence - Write
- Copy the API Key and save it somewhere secure!
Step 2: Assign and create secrets and tokens in Jit
-
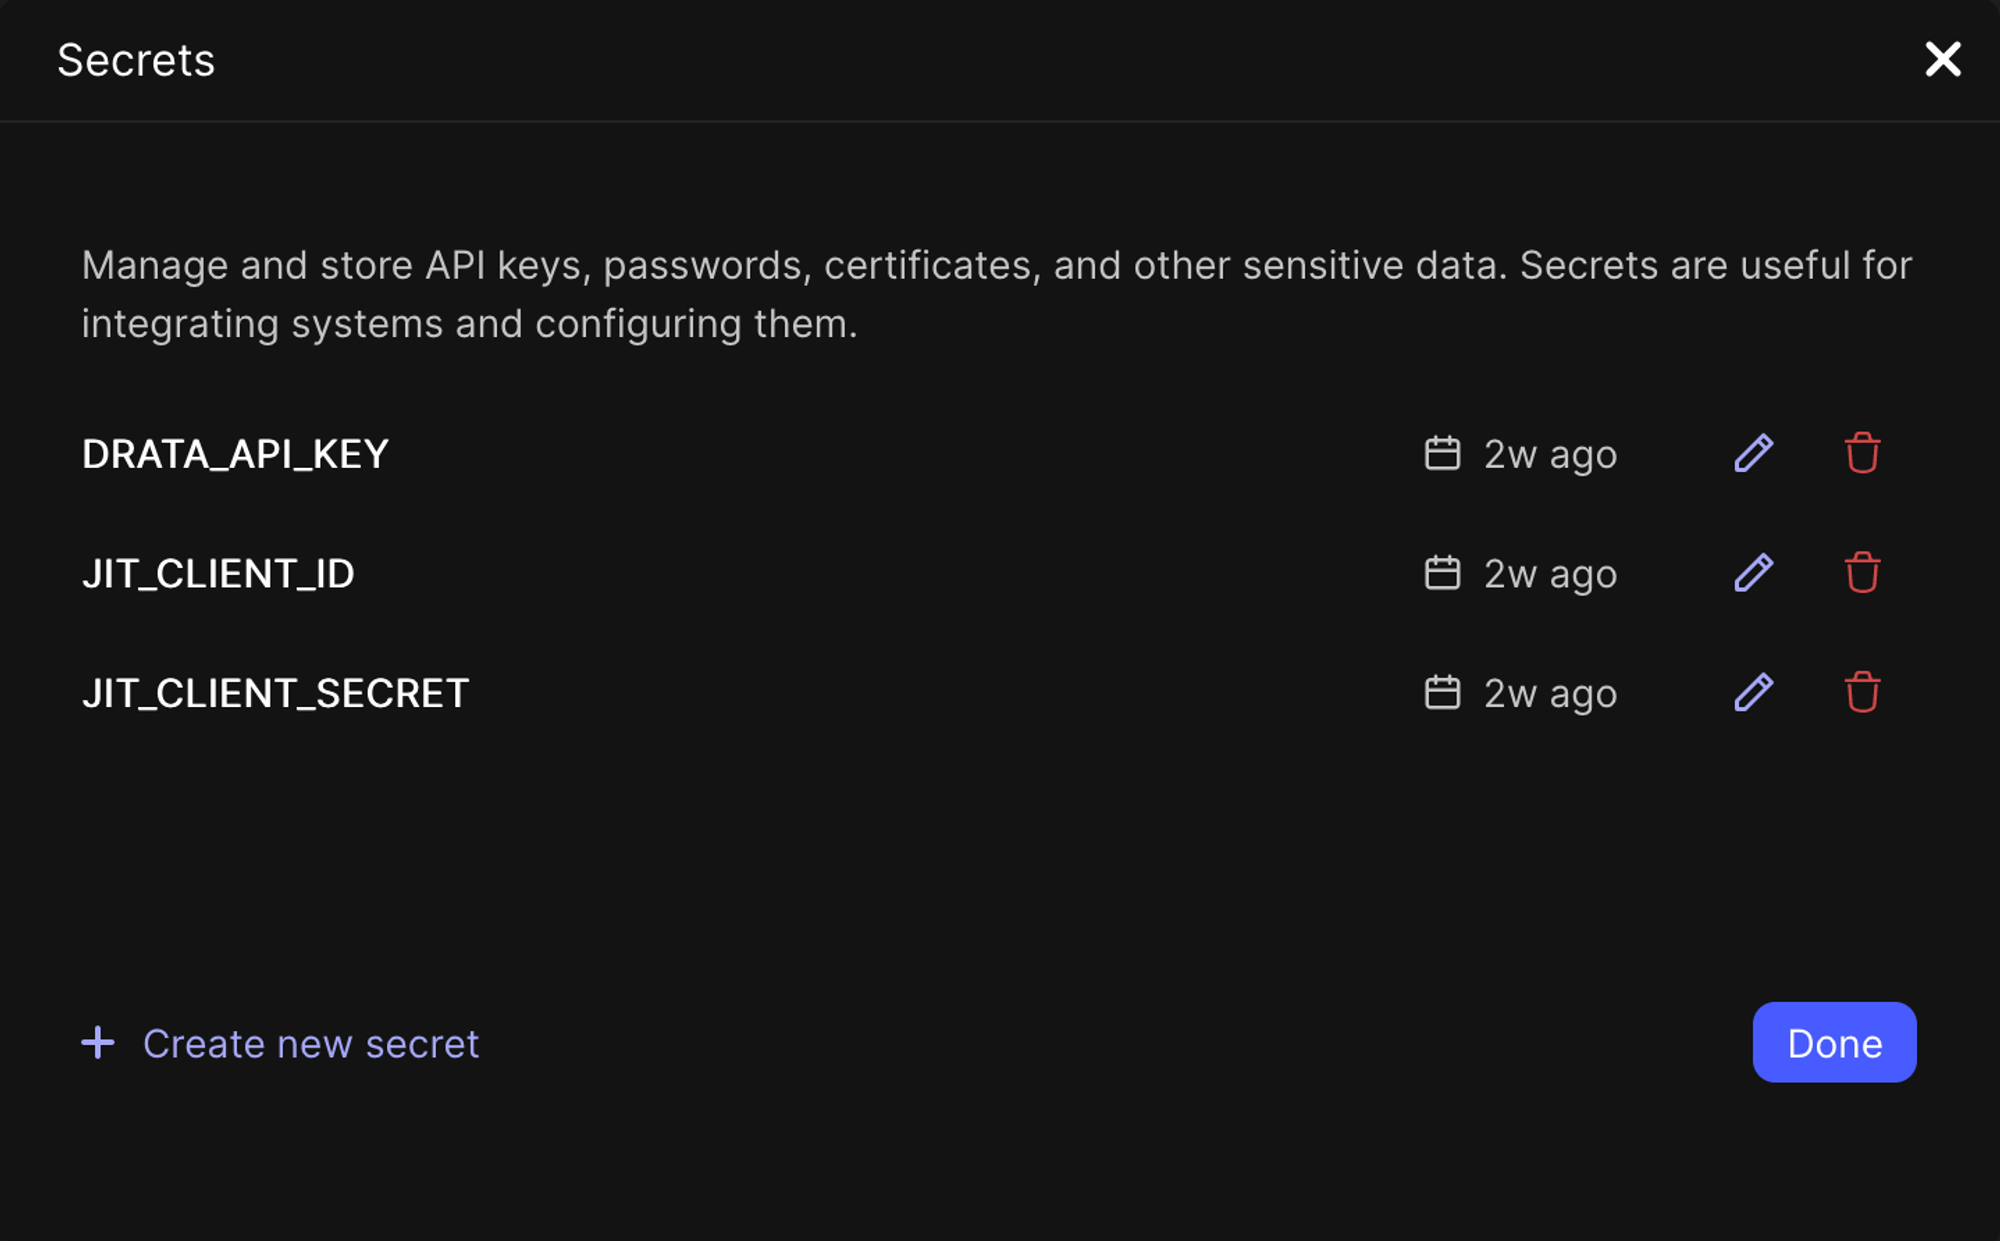
Create a secret for the Drata API key:
- In the Jit platform, go to Settings > Secrets.
- Click on Create new secret, and create a secret named
DRATA_API_KEYand add the Drata API Key you've just created.
-
Create a Jit API Token:
-
Click on Settings > Users & Permissions.
-
Click on API Token > Generate Token.
-

Create a new Key, give it a meaningful description, and select a
developerRole. -
Copy both the
Client IDandSecret Keyto a secret location.
-
-
Store these back to the Jit secrets, go back to Settings > Secrets:
- Click on Create new secret, and create a secret named
JIT_CLIENT_IDand add the JitClient IDyou just created. - Click on Create new secret, and create a secret named
JIT_CLIENT_SECRETand add the JitSecret Keyyou just created.
- Click on Create new secret, and create a secret named
-
Make sure the names are as described for the integration to work properly.
Step 3: Enable the Drata integration in Jit
Enable the Drata integration in Jit
Jit currently does not support self-service configuration of the Drata integration.
To complete the integration, the Jit team will enable the Drata evidence sync for you.
- Complete Steps 1 and 2 above.
- Contact Jit support and provide:
- Your Drata workspace name
- The email address associated with your Drata account
- Confirmation that the Drata API token has been created
Once enabled, Jit will start syncing evidence to Drata automatically.
How to find your Drata workspace name and email
Drata workspace name
If workspaces are enabled:
-
Go to Drata, then select Settings > Company Info.
-
Scroll down to Workspaces section and copy the name of the workspace you want to send evidence to.
If workspaces are not enabled:
-
Go to Drata, then select Settings > Company Info.
-
Copy the Project Name.
Drata account email
- Enter the email address of the Drata user who created the API key.
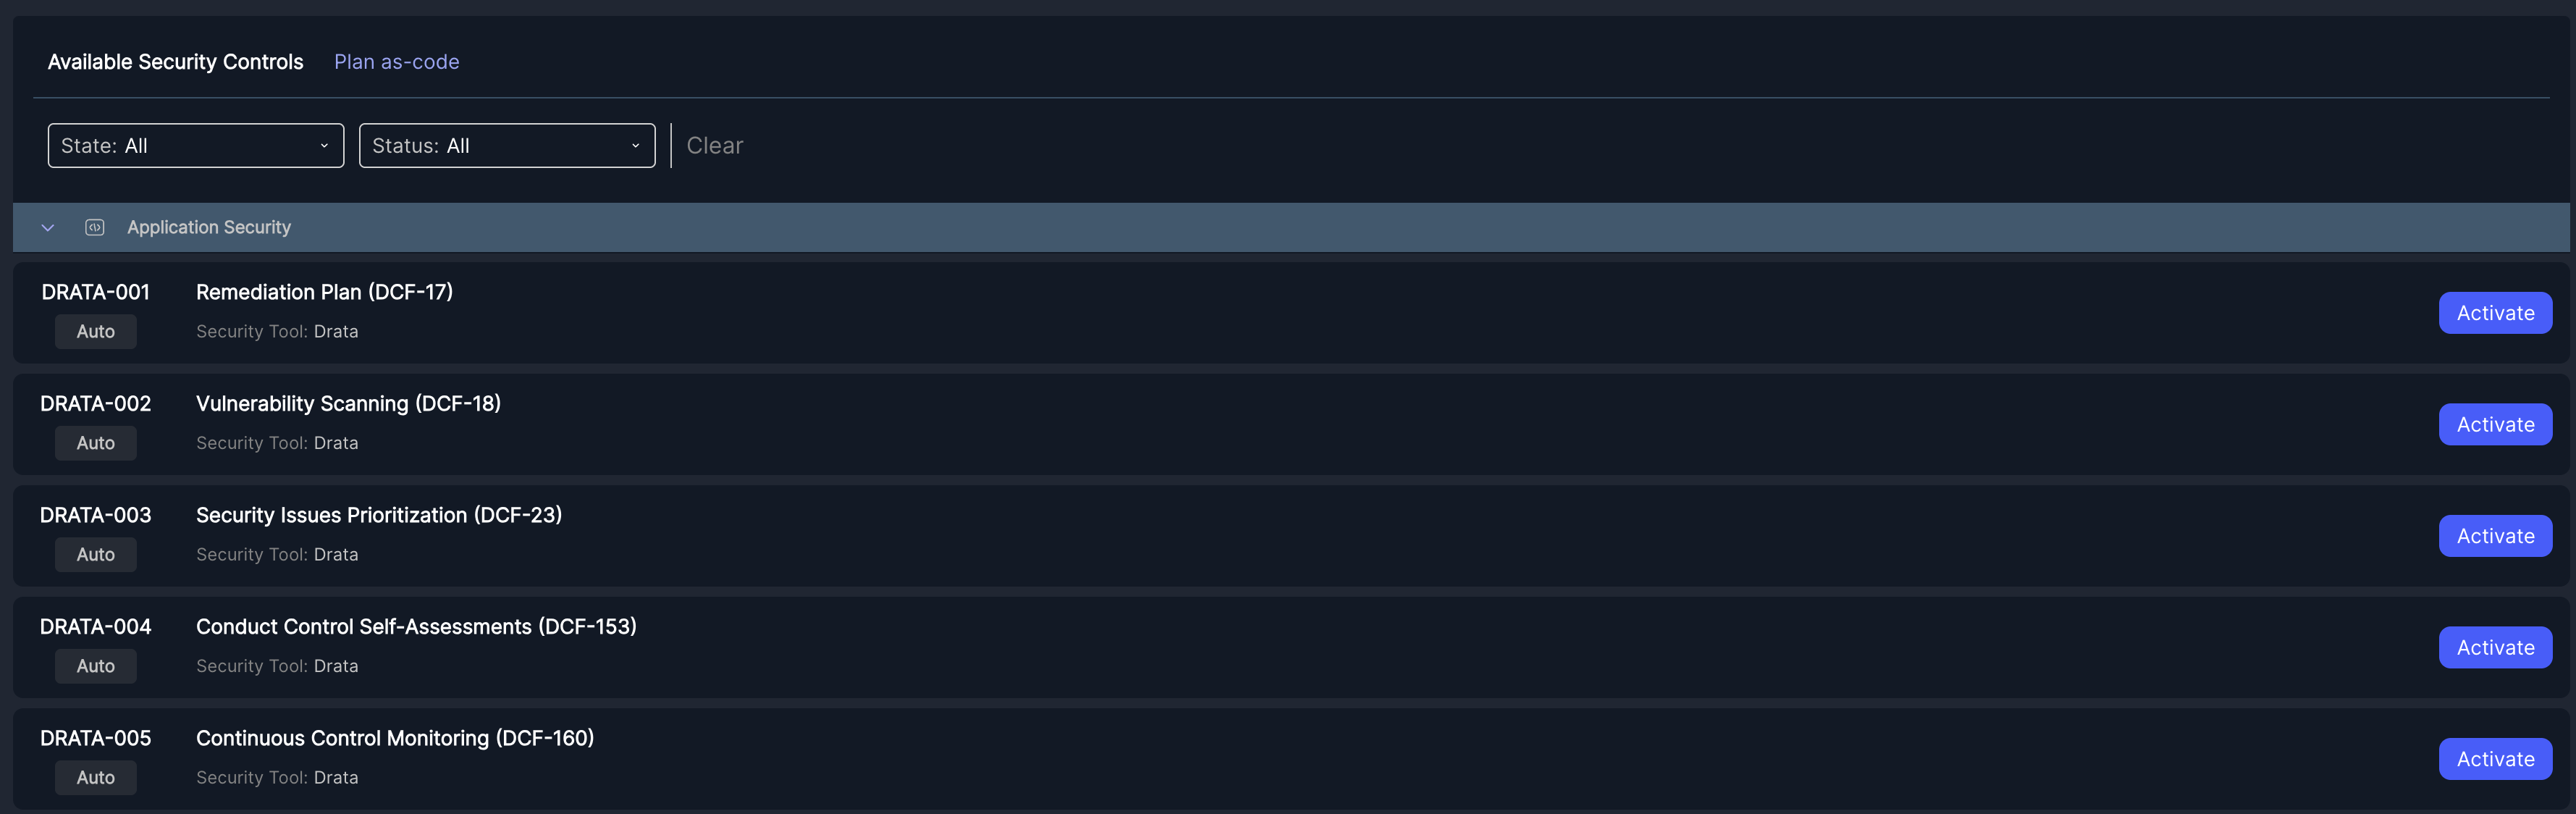
Step 4: Enable Drata in your security plans
After the Drata integration has been enabled by the Jit team, you can use it in your security plans.
Enabling Drata in a security plan allows Jit to associate findings and controls with Drata for compliance context and reporting.
Jit will now periodically send the Jit report to your Drata workspace, according to your SOC2 by Drata plan.
Updated 5 months ago