Connect Jit with your GitHub Account
To connect Jit with your GitHub account, follow the steps below. You can also watch this 3 minute demonstration.
Create an account and begin the Quick Start flow
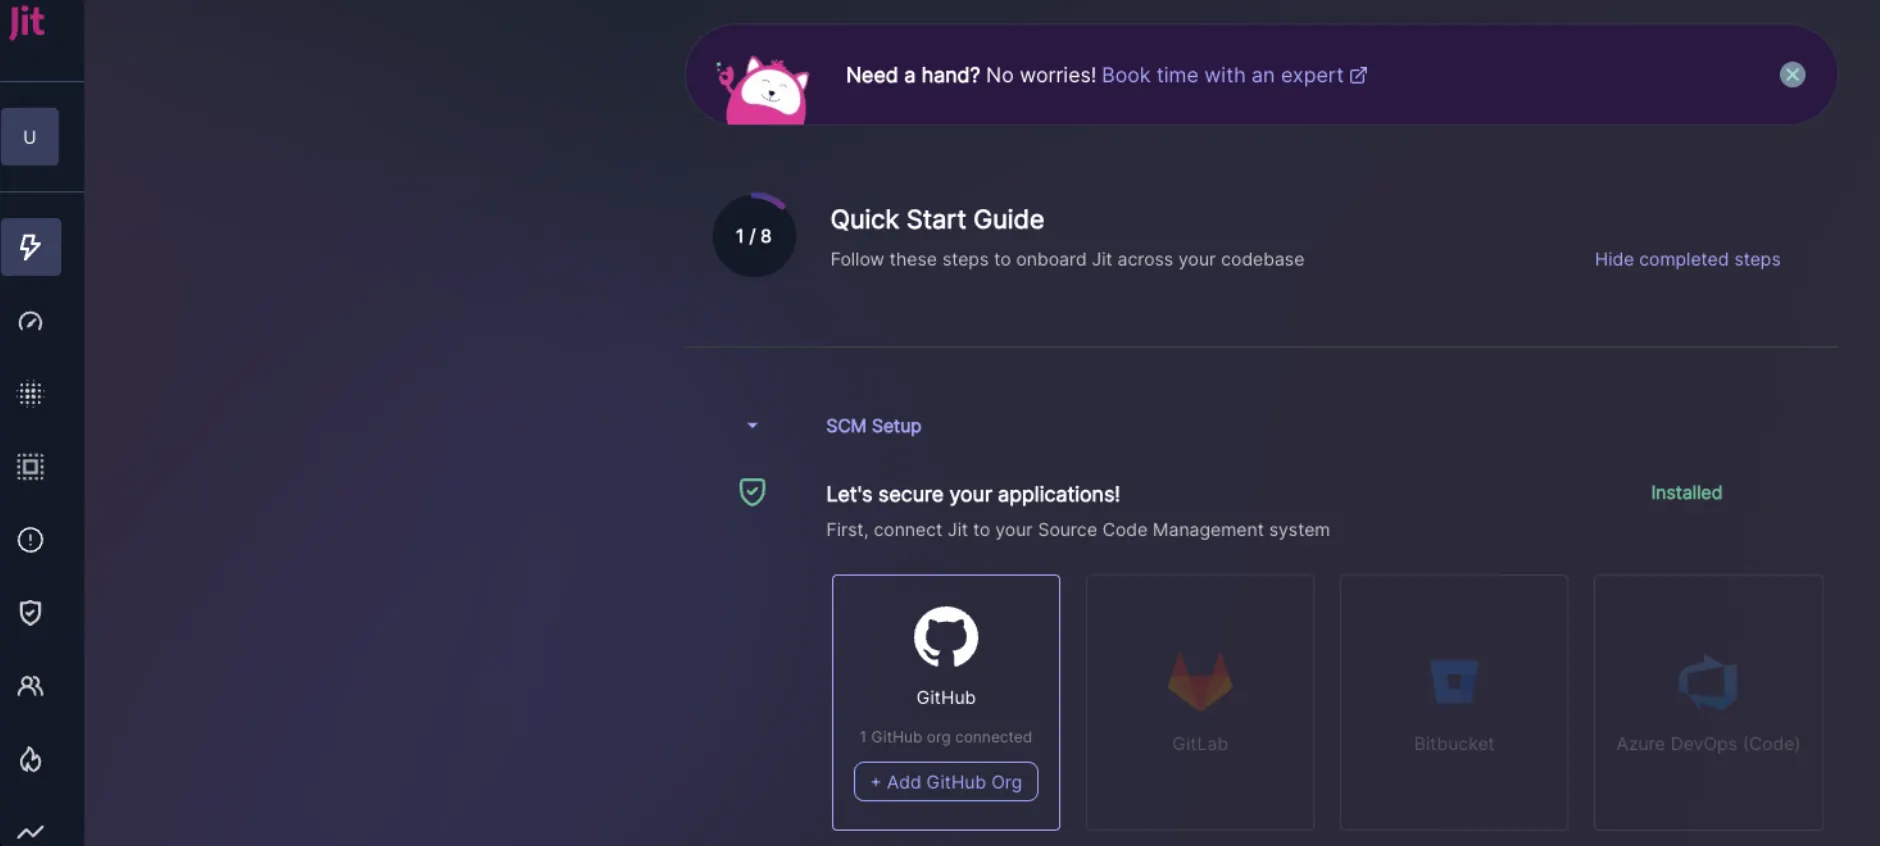
- Log in to your Jit account.
- This will bring you to our Quick Start Guide, where you’ll be directed to “Integrate Source Code Manager”. Hit the GitHub icon.
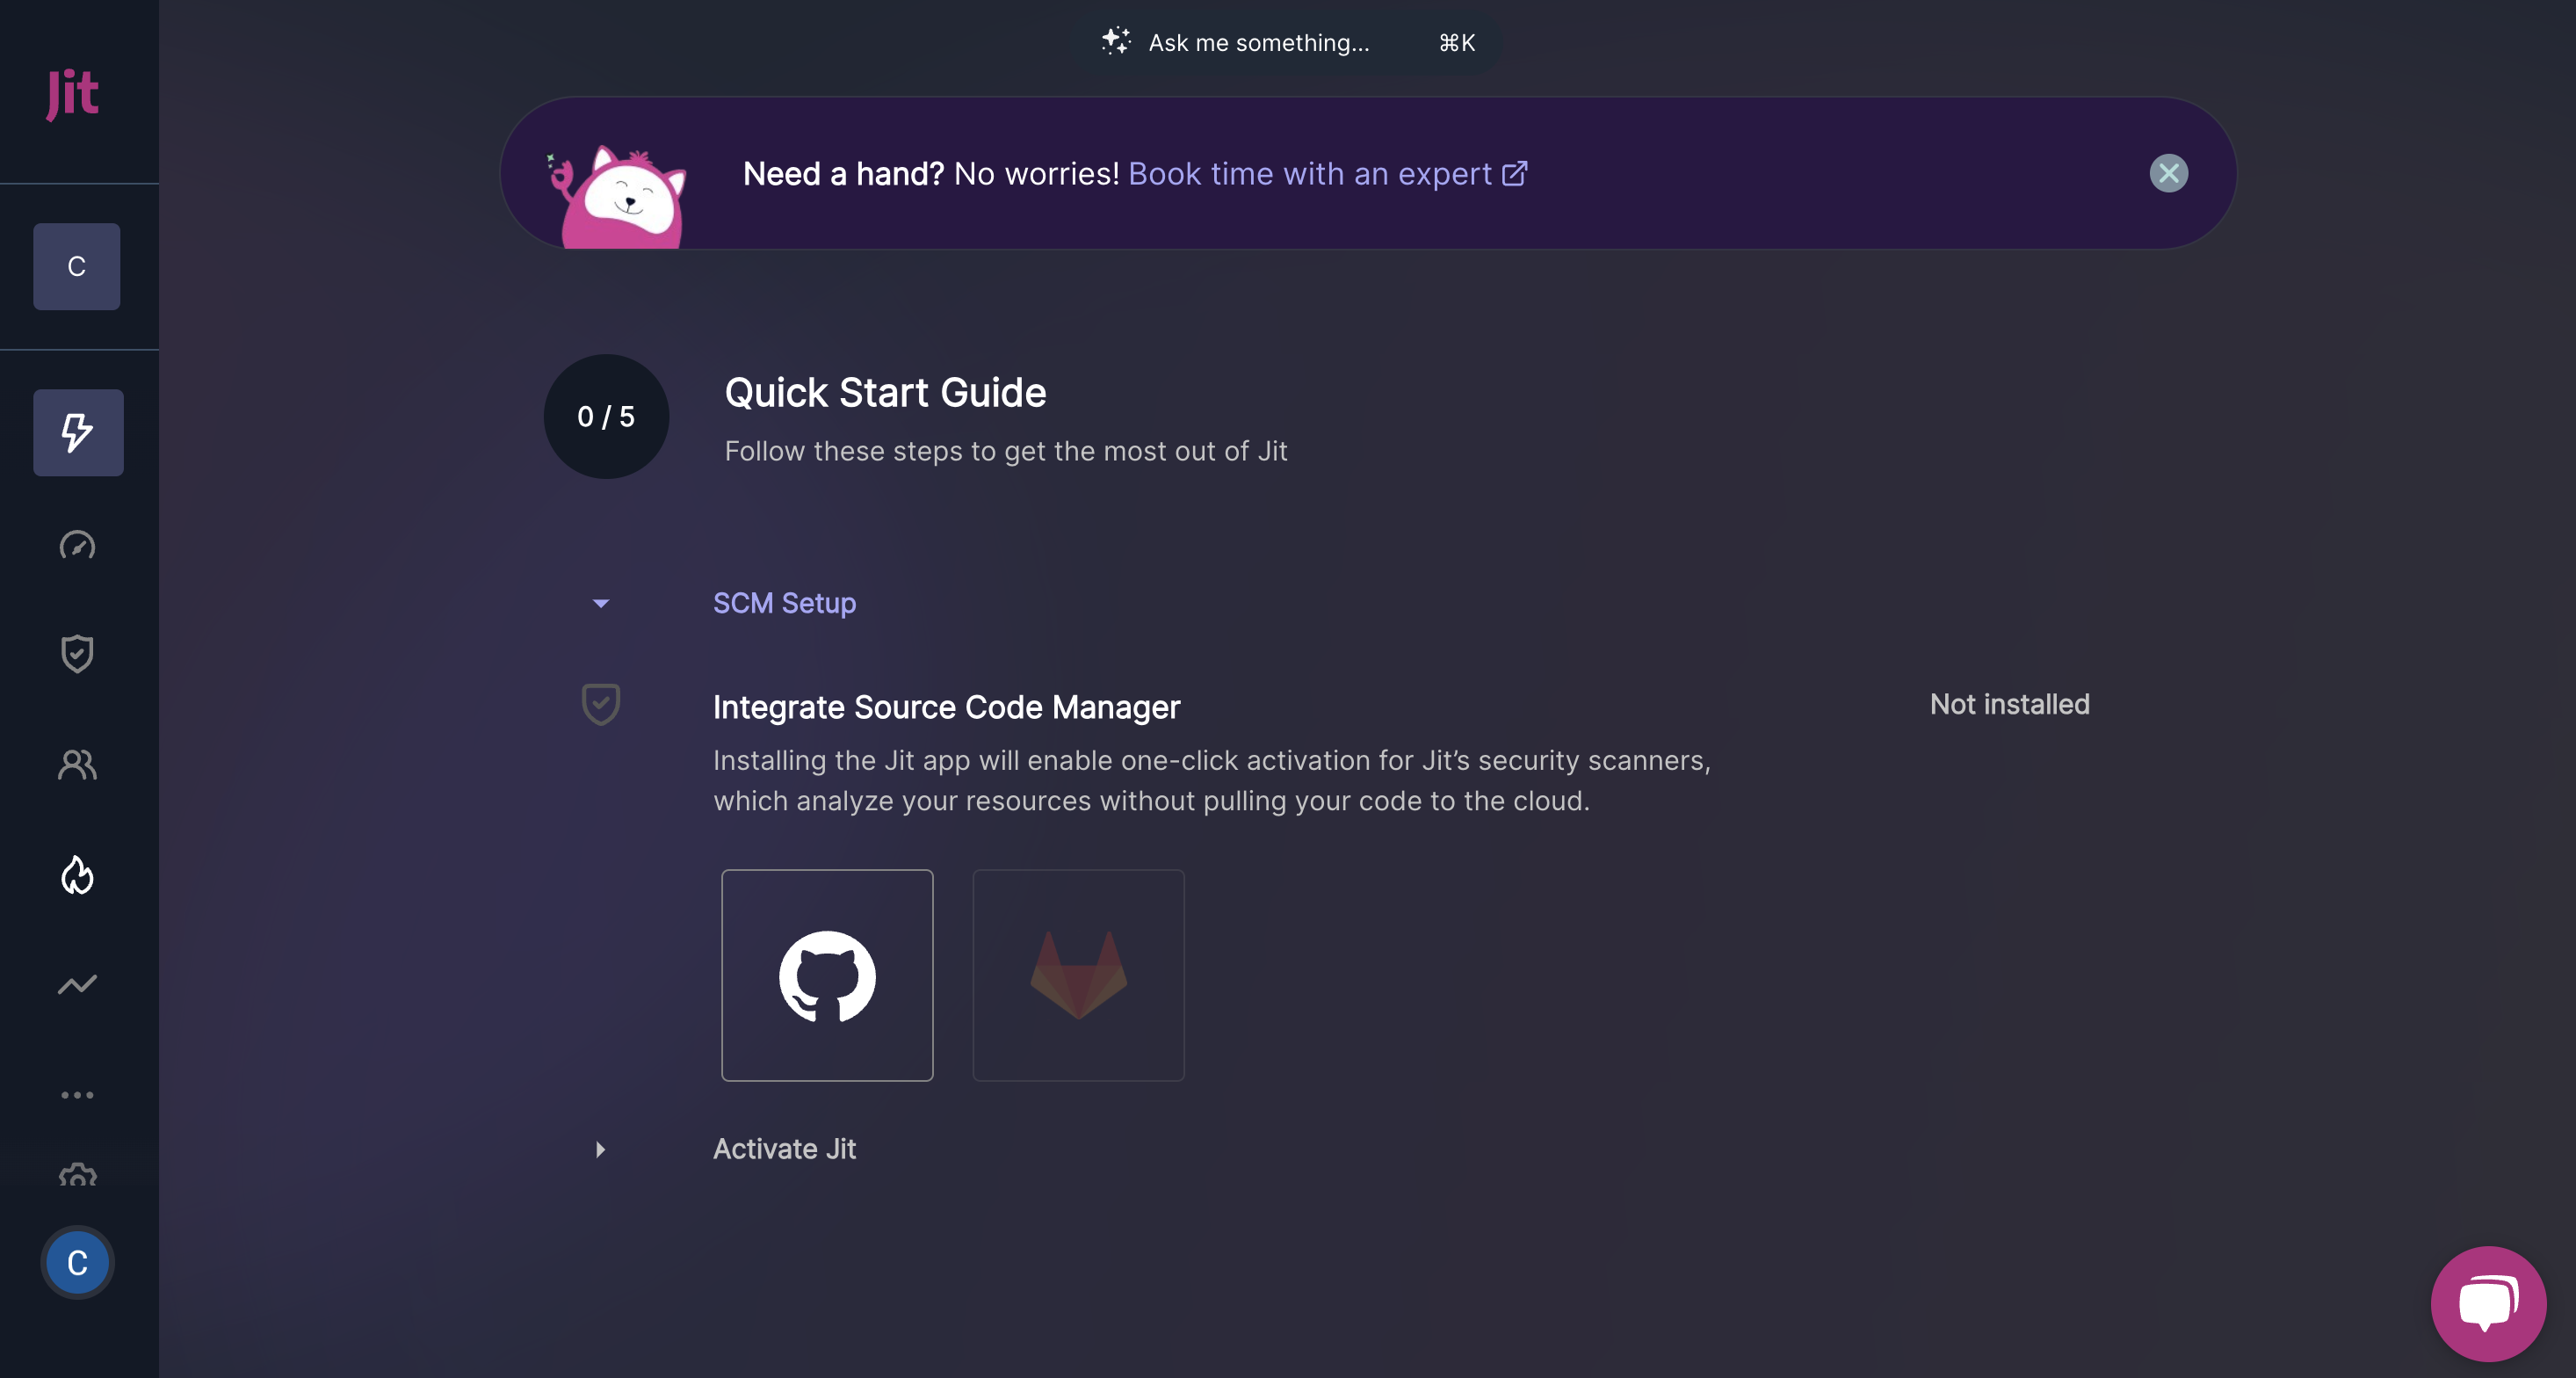
Install the Jit app on GitHub through the Integration Wizard
- You’ll be prompted to install the Jit app on GitHub. This will provide Jit access to your repositories and enable continuous scanning. To learn more about the relevant permissions, see the “Required permissions” section at the bottom of the page. Hit “Install”.
- Select the relevant GitHub Organization.
- Choose whether to scan all repositories in the GitHub Organization or select specific repositories to scan. Selecting “All repositories” will automatically scan future repositories as they’re created.
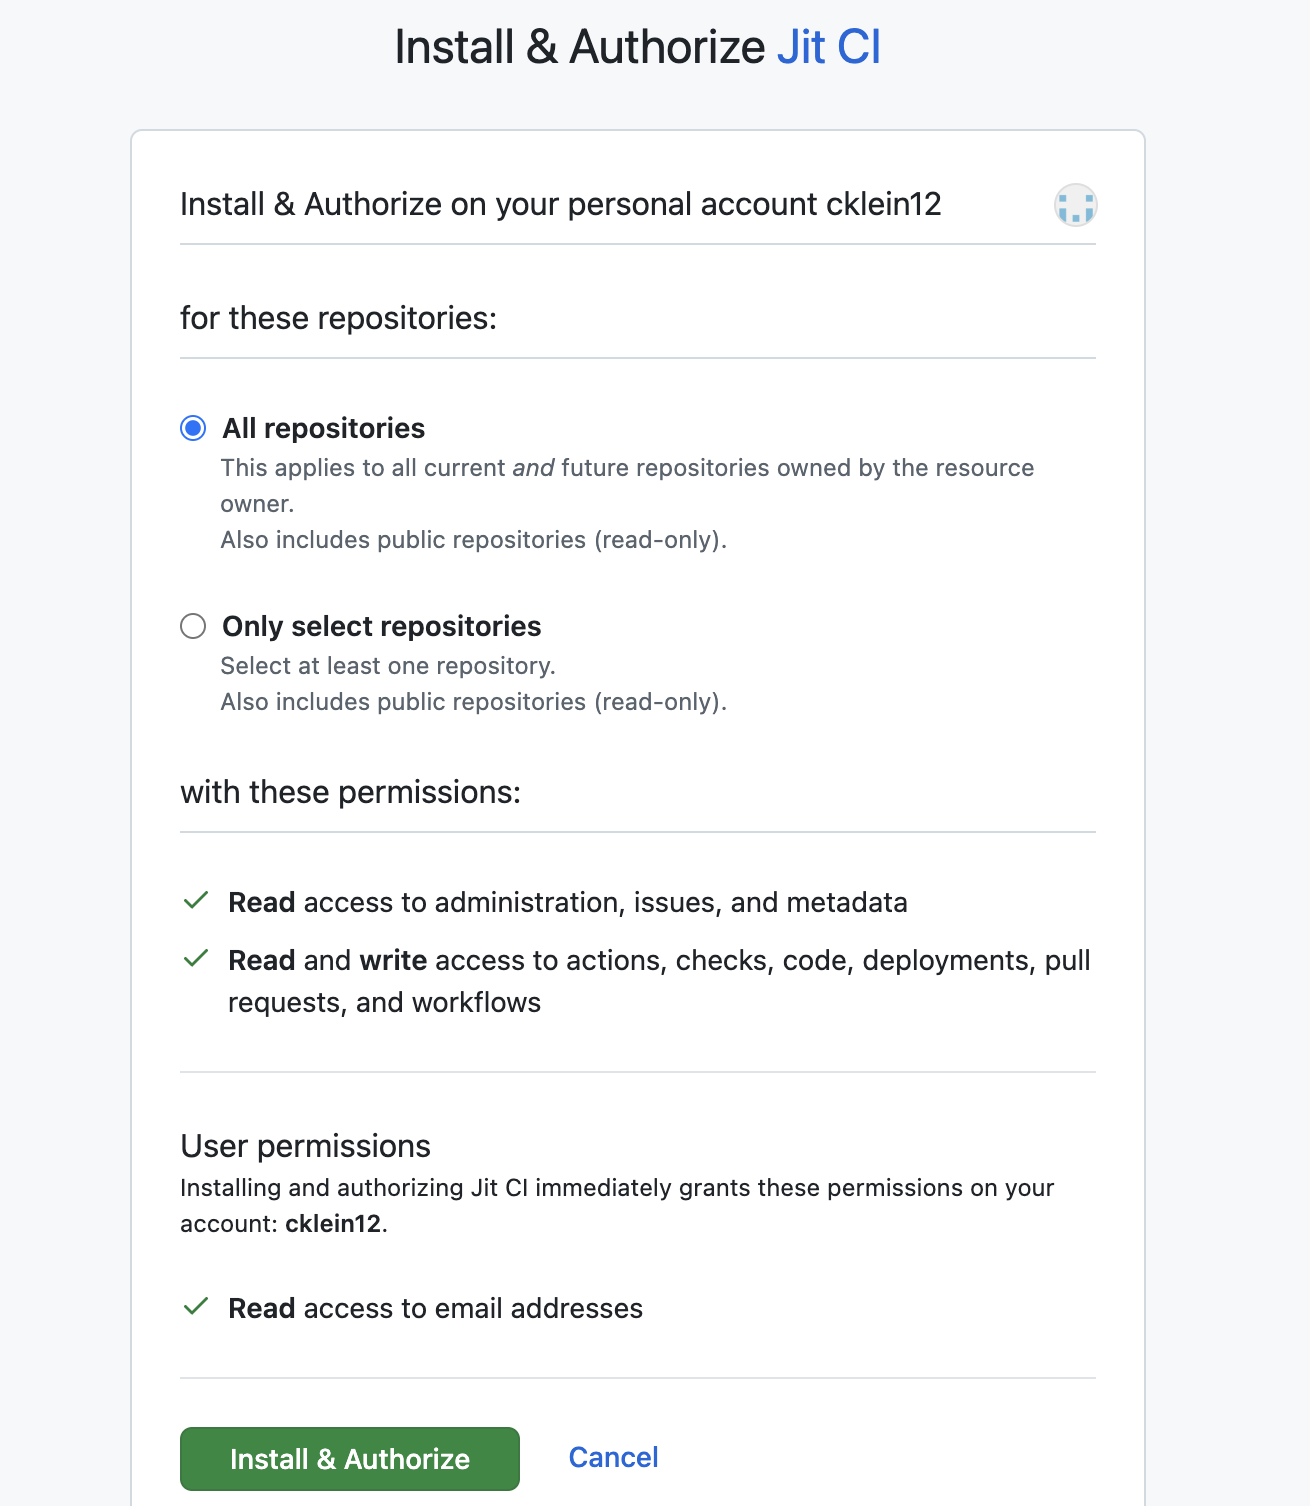
- Click on the Install & Authorize button.
- Click on the Next button and select a repo to store Jit’s config files, or create a new repository. This enables Jit to trigger scans within your GitHub environment, so that Jit doesn’t need to pull your code to our environment. This also enables users to manage Jit configs as code.
- Click on the Finish button.
Jit is now scanning your codebase!
Now that you’ve implemented the integration with GitHub, Jit will automatically begin scanning your codebase (or the repositories you selected).
Specifically, Jit will activate the SCA, SAST, and Secrets Detection tools – these scanners will detect known vulnerabilities in your open-source components, security flaws in your custom code, and hardcoded secrets, respectively.
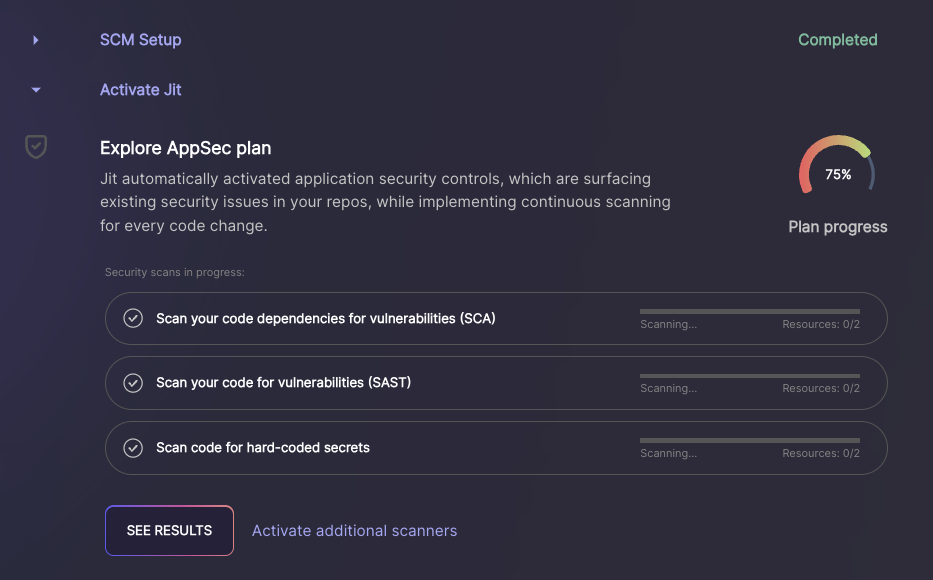
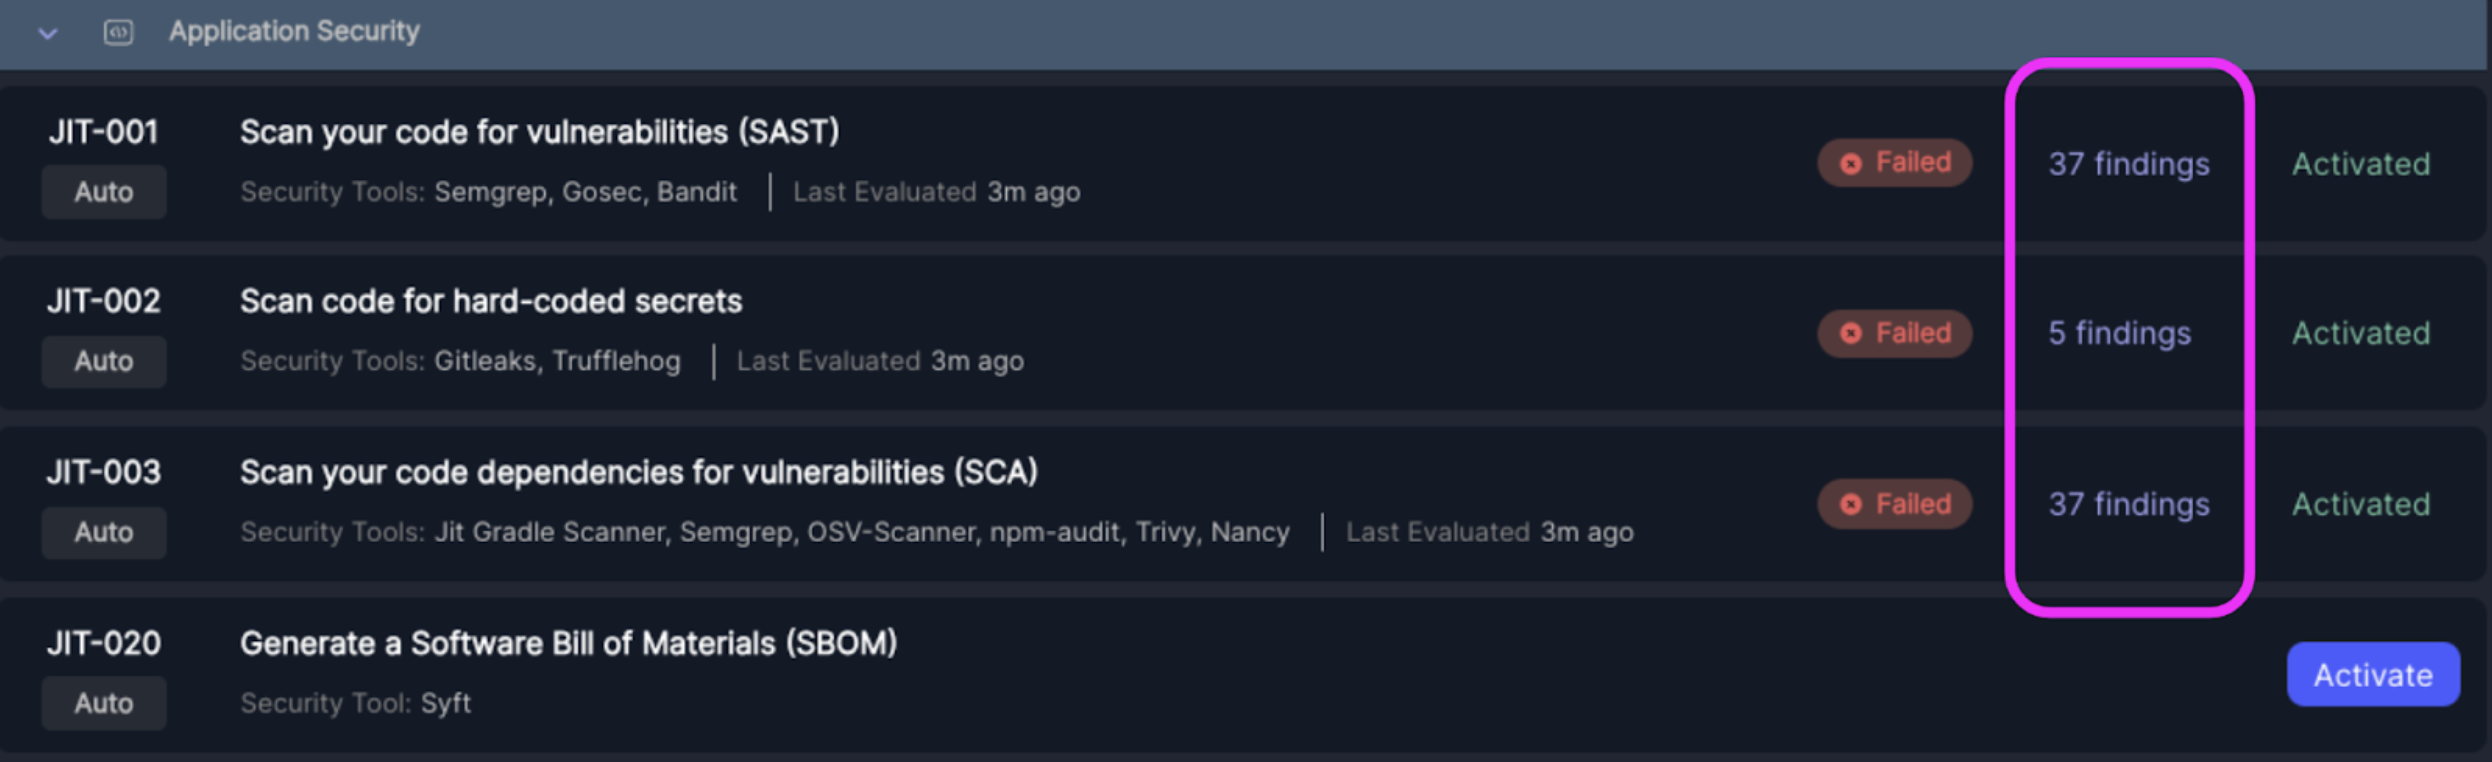
- Once the scans are complete, hit “See Results”, which will bring you to the security scanners that have been activated. If the scanners are marked as "Failed", that means they detected security issues. You may need to wait a few minutes before the findings appear.
- Click on the findings, which will bring you to the findings page where you can gather more details about the security issues.
Success!
You are good to go.
Click Explore Jit's features to learn how Jit prioritizes your security risks, enables continuous scanning for developers, integrates with a notification system, and much more.
Required permissions
When installed, the Jit GitHub app requires the following permissions in GitHub:
| Permission | Purpose |
|---|---|
| Read access to administration, issues, and metadata | Enables Jit to monitor repository creation or deletion events, and access repository metadata. |
| Read and write access to actions, checks, pull requests, and workflows | Enables Jit to trigger workflows, create and update PR checks, create and update pull requests, and modify workflow files. |
| Read and write access to content | Enables Jit to detect vulnerabilities in code and open remediation PRs in a new branch. |
| Read access to members | Enables Jit to list and map teams and membership |
| Read and write access to deployment (future feature) | Enables Jit to run security requirements on new deployments and block deployments based on security findings. |
Connecting Multiple GitHub Organizations
Jit supports connecting multiple GitHub organizations to a single tenant.
This is useful for companies that split repositories across several GitHub orgs but want unified security visibility and orchestration.
How it works
- Jit uses a GitHub App for integration.
- To connect multiple organizations, the same GitHub App must be installed separately on each GitHub organization.
- Each installation is authorized independently at the organization level.
- Repositories are grouped by organization and managed under the same Jit tenant.
Adding another GitHub organization
You can add additional GitHub organizations in one of the following ways:
- During initial setup via the Quick Start SCM setup step.
- Navigate to the Quick Start Guide → View all steps → SCM Setup
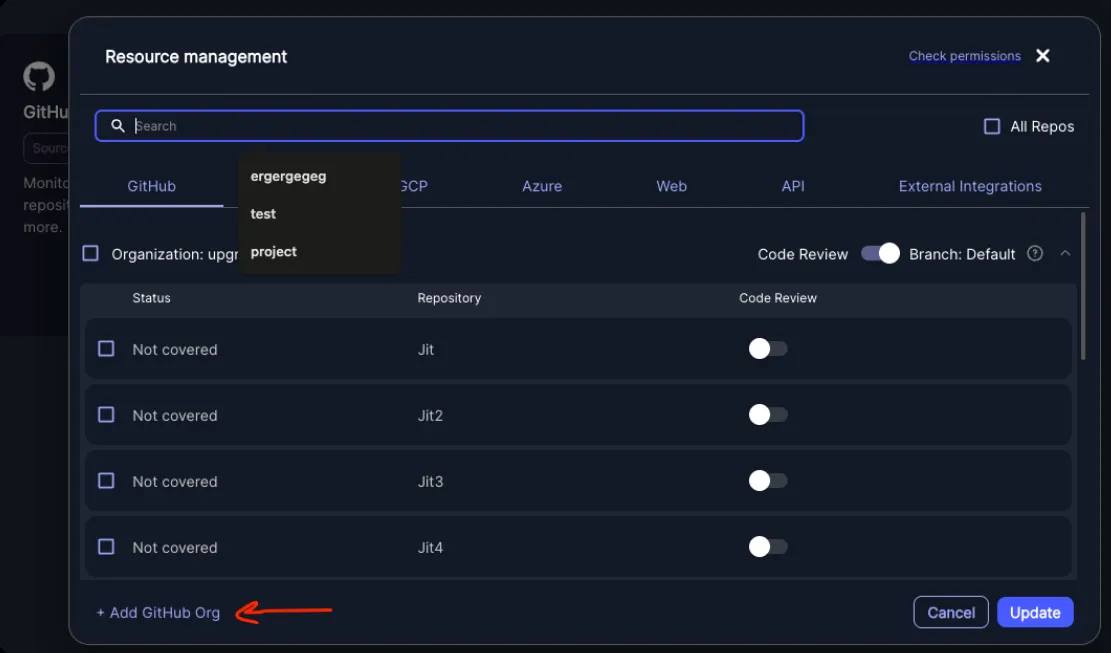
- Click the + Add GitHub Org button found within the GitHub card
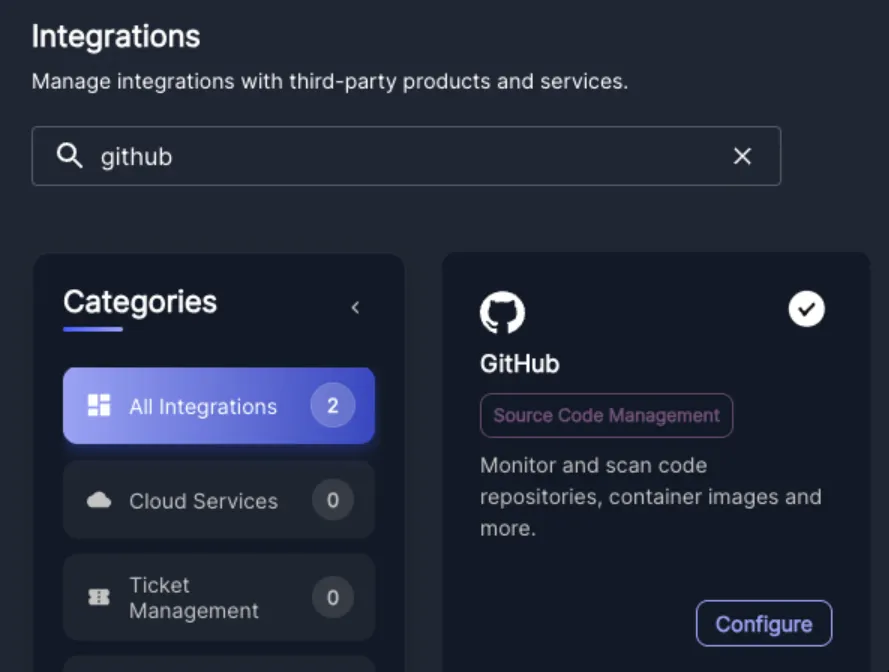
- After onboarding from Settings → Integrations → GitHub, by selecting Add GitHub Org.