Backlog
Overview
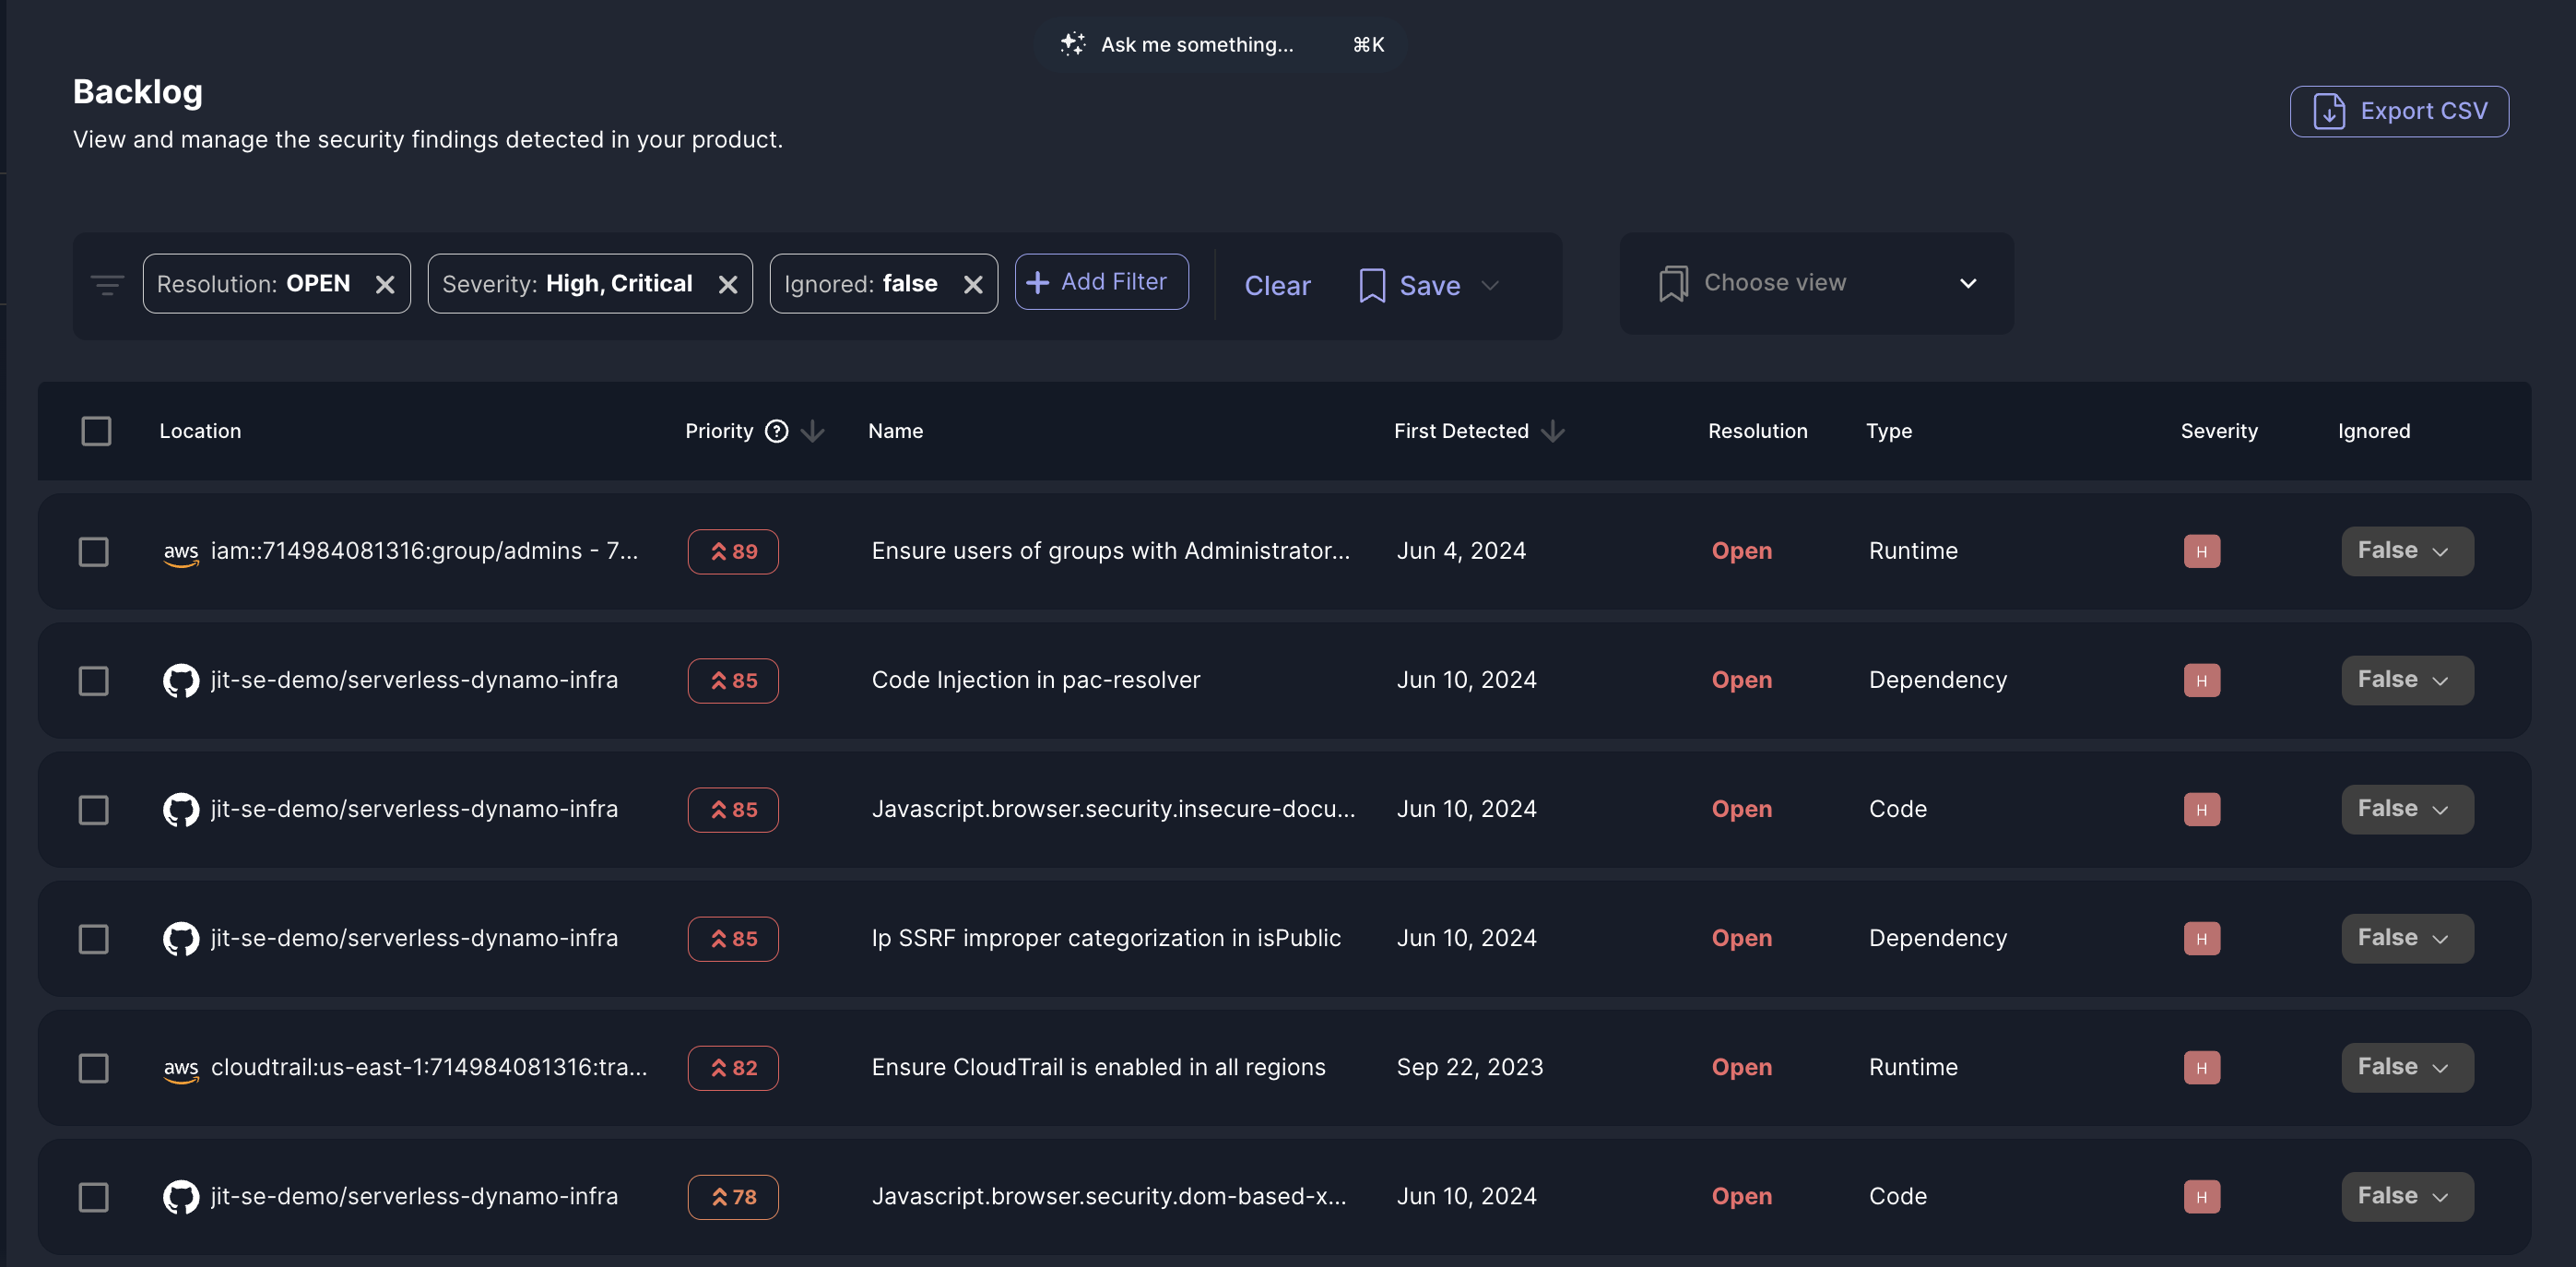
The Backlog page centralizes all security findings, allowing teams to efficiently search, filter, and export critical data, ensuring streamlined management and resolution of findings.
Each finding in the backlog has the following properties:
| Column name | Description | Example |
|---|---|---|
| Location | Indicates the specific environment or resource where the finding is detected | jit-se-demo/serverless-dynamo-infra |
| Priority | A score that ranks the urgency of addressing the finding (calculated using the context engine) | 90 |
| Name | Provides a brief description of the identified security issue | Code Injection in pac-resolver |
| First Detected | Shows the date when the finding was first identified | June 10, 2024 |
| Resolution | Indicates the current status of the finding | Open |
| Type | Describes the nature of the issue | Runtime |
| Severity | The CVSS severity score of the finding | High (H) |
| Ignored | Displays whether the issue has been ignored or marked as a false positive. | Fals |
Viewing finding details and the context engine graph
It is possible to take a more in-depth look at the contents of a finding than what is visible from the table.
To view the details of a specific finding
Select the individual finding you wish to view. Details are displayed in a panel on the far right side of the page.
Finding Details Overview
The finding details contain additional information about the finding, such as:
- Security Tool - The security tool that detected the finding.
- Finding Description - A short explanation about the finding was found.
- Context graph - The Finding Graph visually represents how a specific security finding is connected to other elements within your environment, such as repositories, cloud services, and APIs. This graph illustrates the relationships between a finding, its related resources, and the broader infrastructure, providing a clear view of potential security implications.
Filtering and custom views
You can filter the findings list by selecting parameters in the widgets at the top of the page or by modifying the applied filters list by selecting filter options from the Add Filter + drop-down. Select Clear Filter to return to the complete list of findings. Use custom views to save discrete combinations of filter parameters for clear, consistent monitoring of your organization's security stance. Custom views are also used to determine which findings appear in Slack. The default custom view displays whenever you navigate to the backlog page after logging in to a new session.
To create a custom view—
- Use the Add Filter + button to select the filters you wish to include in this view.
- Select the Save button.
- Enter a Name and Description for this filter. If you wish to receive Slack notifications of findings that are visible in this custom view, select the Get real-time notifications checkbox.
- Select Create.
To edit a custom view—
- From the Choose view dropdown, select the custom view you wish to modify.
- Select the menu icon adjacent to the custom view name.
- Select Edit.
- Modify the fields as needed.
- Select Save.
To designate a default custom view—
- From the Choose view dropdown, select the custom view you wish to modify.
- Select the menu icon adjacent to the custom view name.
- Select Set as default.
Changing finding status
Jit enables you to set findings to either open or ignore for easy management within your organization. To change the status of a finding, use the drop-down under the status column for the finding you wish to update.
Creating tickets
To create tickets for findings, you must first integrate Jit with your ticket management system. For instructions, see Integrating with Third-Party Products and Services.
To create a JIRA issue—
- Use the check boxes to select the findings you want to include in the issue.
- At the bottom of the UI, select Create JIRA Issue.
To create a Shortcut story—
- Use the check boxes to select the findings you want to include in the story.
- At the bottom of the UI, select Create Shortcut Story.
To create a Linear issue—
- Use the check boxes to select the findings you want to include in the story.
- At the bottom of the UI, select Create Linear Issue.
Copying finding data to the clipboard
From the findings detail panel, select the copy icon (located to the right of the Status dropdown) to copy the contents of this panel to the clipboard.
Note:
Finding status can also be changed from within the findings detail panel.
Exporting finding data
Jit enables you to export your finding data as a CSV file. To do this, select the Export CSV button in the top right corner of the page to begin the download.
Updated 2 months ago